Pineapple Upside Down Mega


If you were all fruits, you’d be a bunch of FINEapples! Summer is the perfect season for fresh pineapple so I couldn’t resist making a pineapple cake with actual pineapples! I’ve already made a regular pineapple cake (you can tell how much I love pineapples) so I wanted to give it a little twist… or flip!
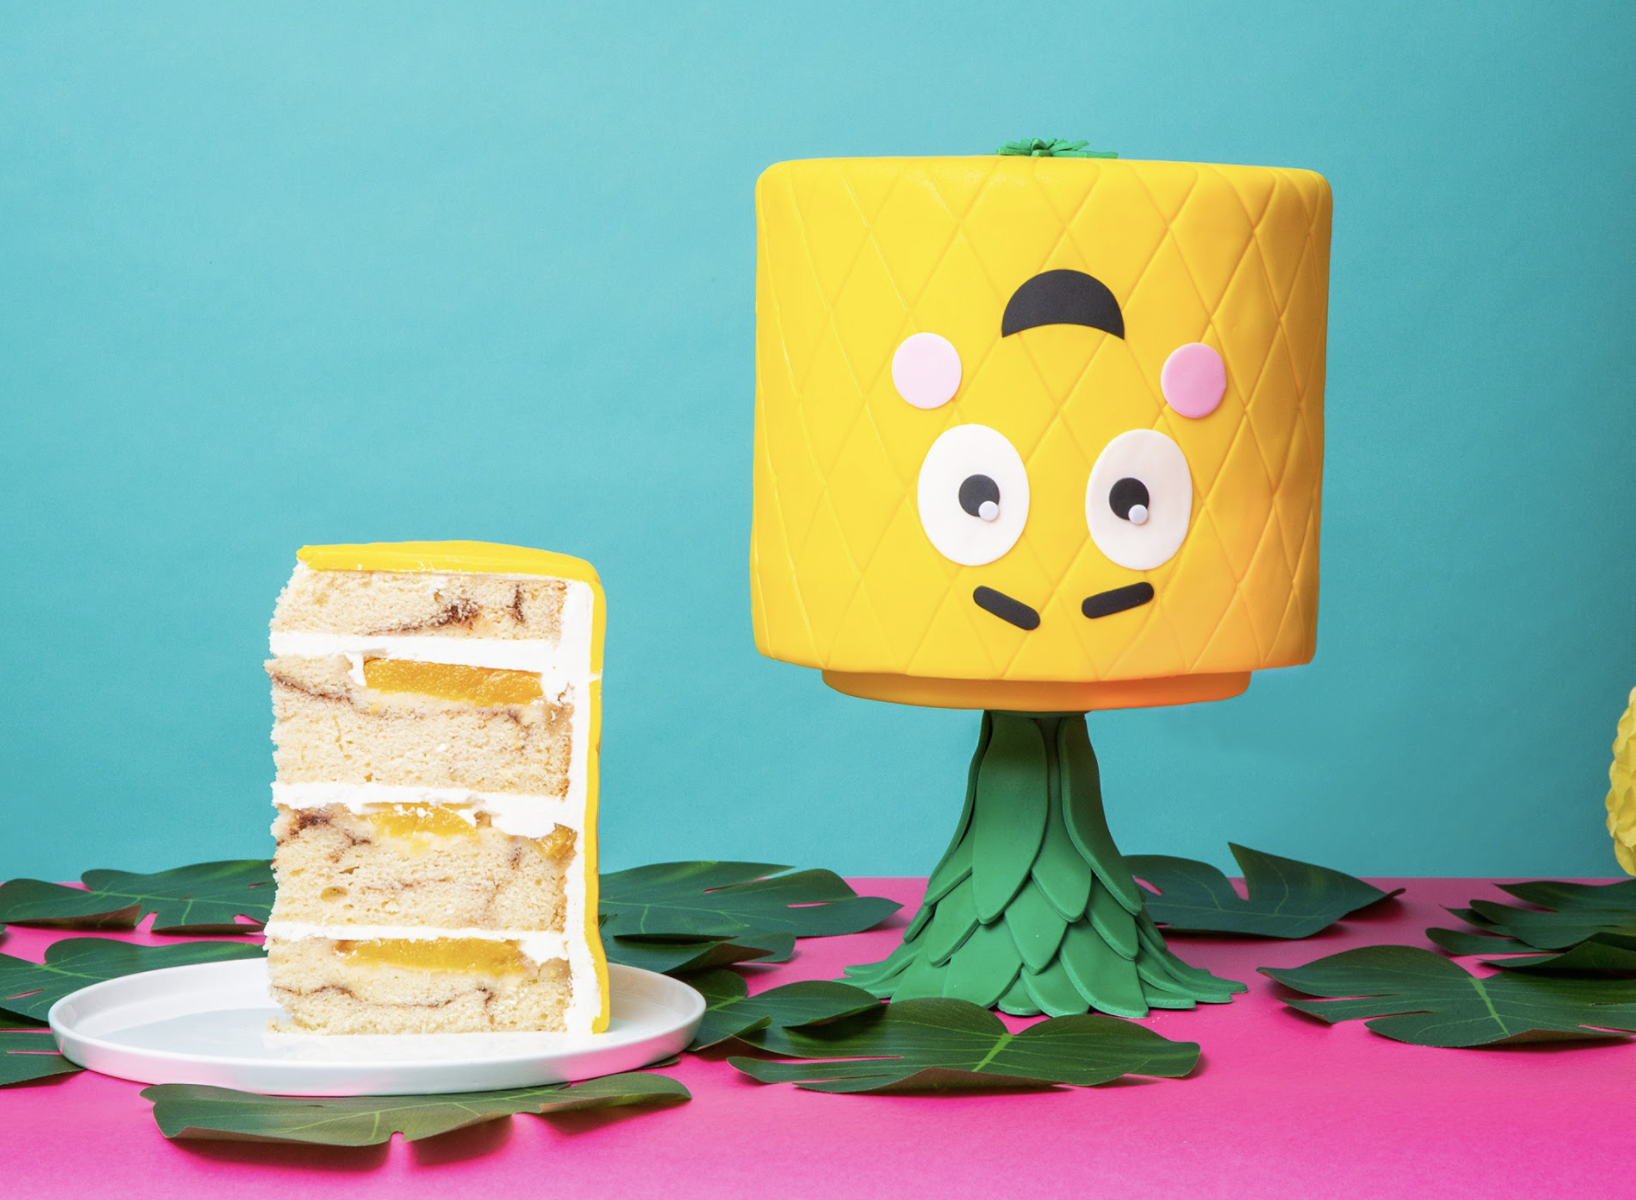
To cake my Pineapple Upside Down Mega cake, I began by baking 8lbs of my Ultimate Vanilla Cake. The cake is stacked with sweet Italian Meringue Buttercream between each layer and also features layers of sweet pineapple slices and brown sugar. The baked pineapple compliments the classic vanilla cake perfectly giving a tropical bite.


Ingredients
Cake
- 8lbs Yo's Ultimate Vanilla Cake
- 18 pineapple slices
- ½ cup melted unsalted butter
- 1 cup brown sugar
- 2 x spice mix
Icing
- 1 batch of Simple Syrup
- 1 batch of Yo’s Italian Meringue Buttercream
Spice Mix
- ¼ cup sugar
- 1 tsp cinnamon
- ¼ tsp nutmeg
Decorations
- 5lb yellow fondant
- 1lb green fondant
- 1oz white fondant
- ½oz black fondant
- ½oz pink fondant
- Clear Piping Gel
 Gourmet Cake Slices with Yolanda Gampp
$29.99
Gourmet Cake Slices with Yolanda Gampp
$29.99


Read It!
-
Start by preparing 8lbs of Ultimate Vanilla Cake batter. Line each of your four 8” round pans with parchment paper then brush on a layer of melted butter and sprinkle brown sugar on top. Arrange your cored pineapple slices on 3 of your layers (one will be plain) cutting the fruit to size if necessary. Now pour 1 ¼ lbs of batter into each pan on top of the layer of pineapples. Smooth the top with a small offset spatula then sprinkle in 2 ½ tbsp of spice mixture to all four of your cakes (avoiding the edges). Pour ¾ lbs more of batter to each pan and smooth again with the offset spatula. Bake all of your cakes for 1 hour and 30 minutes at 350 degrees Fahrenheit.
-
Remove all of your cakes from their pans and level the bottoms of the layers so that they are all the same height.
NOTE: Your fourth layer without the pineapples will come out darker due to the pan but that is okay.
-
Use Sir Squeeze-A-Lot to soak all of your layers with simple syrup on the levelled side then let them absorb for a few minutes.
-
Cut a foam board out to the size of your cake then begin filling and stacking your cakes with IMBC on top of the board with the pineapple side facing upwards. Place the layer without any pineapple on top as the last layer. Use a paper towel to absorb any extra liquid sitting on top of the layers before you spread the IMBC.
-
Crumb coat the cake with IMBC then place it in the fridge until firm.
NOTE: if there is any pineapple sticking out from the cake, cut it off before you cover it in IMBC or add extra buttercream and cover it to smooth it out.
-
While your cake is chilling in the fridge, we’re going to begin prepping the cake stand. Choose a stand that is smaller than the diameter of your cake then flip it over and coat it with piping gel. Roll out some yellow fondant then use a circle cutter to cut a small circle out of the middle (large enough to fit around the stand) and cut a line from the inner circle outwards. Wrap the fondant around the stand and smooth it out trimming away any excess.
-
Roll out some green fondant until it is 1/8” thin then use a petal cutter to cut out petals for the leaves. Brush the pedestal of your stand with piping gel for glue then flip it so that it is upright. Starting from the base and working upwards, add leaves around the stand. Make sure that you cover the whole stand so that no part of it is showing. Make sure to add more piping gel to the back of the petals once you begin placing them petal on petal. Add more to the bottom so that it is wider giving it the pineapple crown effect.
-
Now that your cake stand is complete, you can return to the rest of the cake. Remove your cake from the fridge and ice it with some more IMBC using a bench scraper to smooth out the edges.
-
Cover your entire cake with yellow fondant using a fondant smoother then trim away the excess. Because the cake is so tall and requires so much fondant, be careful of any ripping.
TIP: You can use a straight pin to pop and air bubbles in the fondant then smooth it out to hide the hole.
-
To create a quilted pattern on the sides of your cake, hold a set square lightly against the cake in one direction then follow the diagonal line up with a veining tool. Once you have done the whole cake, go in the other direction to complete the pattern.
-
Using a ruler or measuring tape, find the centre of the top of your cake then with the ruler and veining tool, continue the lines you created in the last step all to the centre point.
-
Roll out some green fondant then cut out three daisies in different sizes. Stack them from largest on the bottom to smallest on top then using a modeling tool, press down in the center to make them stick together.
-
Roll out some white, black, and pink fondant really thin then cut out the facial features from their appropriate colours. Use the oval cutters to cut out two white eyes as well as two small catch-lights using small piping tips. Then use a larger piping tip and the black fondant to create pupils, circle cutters to create the mouth, and a letter “I” cutter for the eyebrows. Lastly, use circle cutters again for the pink blushing cheeks.
-
Use some piping gel to glue on the facial features to the cake and make sure they create an upside-down face. Lastly, add on the flower to the top of your cake then carefully lift your entire cake and place it on the stand.
Congratulations you did it!
