Emoji Cake Recipe


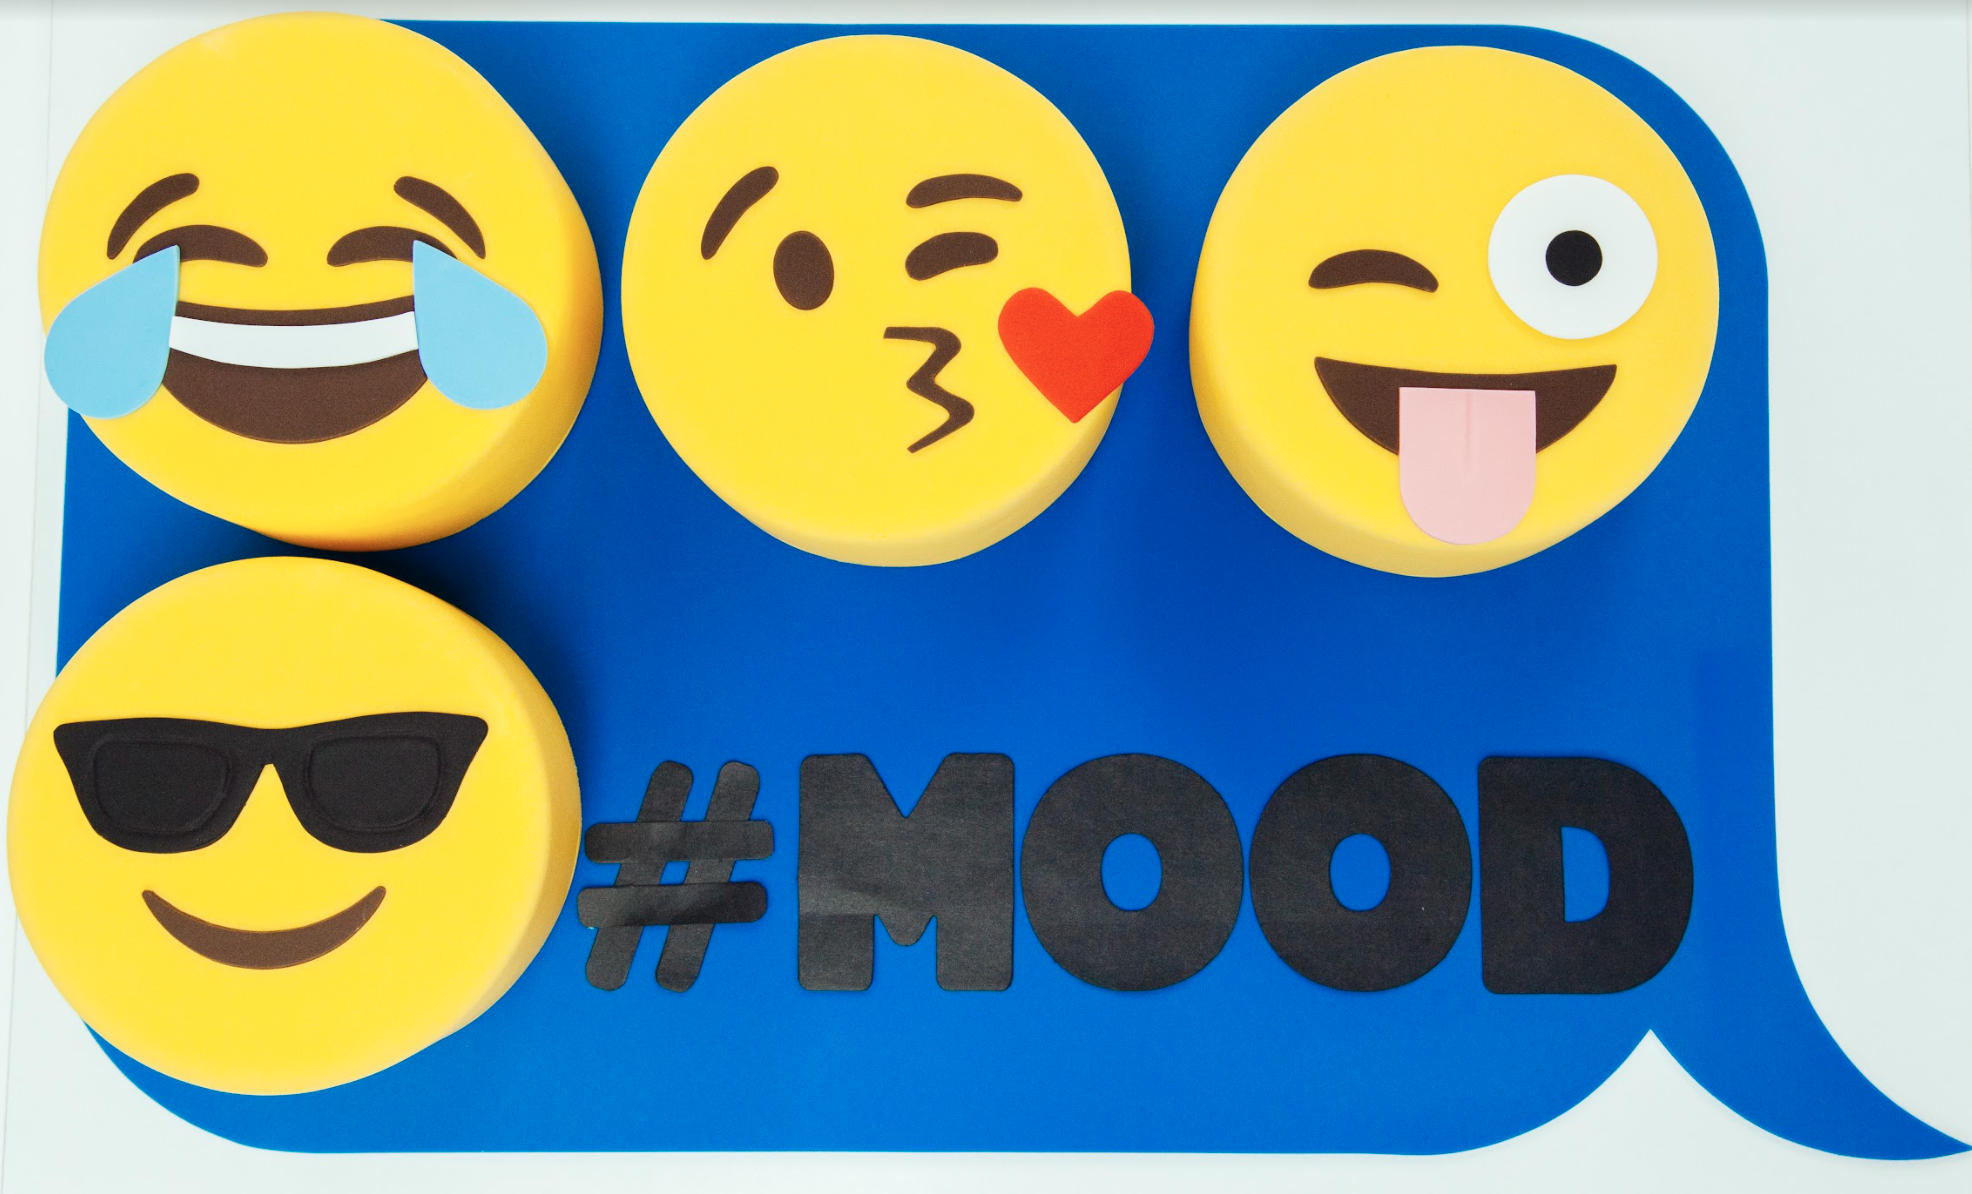
Chocolate Cake Emojis with Adorable Fondant Faces! What did the world do before the invention of the emoji? These little guys have changed the way we communicate on a daily basis. I need to sculpt some emojis out of chocolate cake and bring them to life. They deserve it! Ive decided to make these four emojis since they are my favourite!


Ingredients
Cake
- 4lbs of Yo's Ultimate Chocolate Cake
Icing
- 1 batch of my Italian Meringue Buttercream
Decorations
- 4 lbs Yellow Fondant
- 2 oz White Fondant
- 1 oz Red Fondant
- 2 oz Black Fondant
- 4 oz Chocolate Fondant
- Baby Blue Paste Color
- Vegetable Shortening
- Piping Gel
- Icing Sugar

Tools
- 4x 5" round cake pans
- Simple Syrup Squeeze Bottle
- Rubber spatula
- Small Straight & Offset Spatula
- Ruler
- Rolling pin
- Fondant smoother
- Paring knife
- Lazy Susan
- Nonstick gumpaste board
- Nonstick gumpaste rolling pin
- Fine Paint brush
 Gourmet Cake Slices with Yolanda Gampp
$29.99
Gourmet Cake Slices with Yolanda Gampp
$29.99


Read It!
-
Prepare your Ultimate Chocolate Cake batter. Divide evenly between your four pans and bake your cakes at 350 degrees for 30 minutes. Allow them to cool completely in their pans sitting on a wire rack.
-
Remove all cakes from their pans and level them.
-
Crumb coat each cake and chill in the fridge for 15 minutes.
-
Remove your chilled cakes from the fridge, ice once again, and chill in the fridge for another 15 minutes.
-
Roll out your yellow fondant, about 1 lb at a time, and cover each 5" round cake.
-
Mix a bit of white fondant into your red fondant to create the pink tongue in your 'silly' emoji face. Dye your remaining white fondant with Sugarflair Baby Blue Paste Colour to create the blue 'tears' in your laughing emoji.
-
Roll out all of your coloured fondant as thin as possible on your non-stick board, using a non-stick rolling pin. Using printed templates, cut out all of your emoji features with a sharp knife.
-
Use your templates and a ruler as a guide to help you place each emojis facial expressions. Brush a light amount of clear piping gel on the back of each piece and gently secure to your cakes.
Congratulations you did it!
