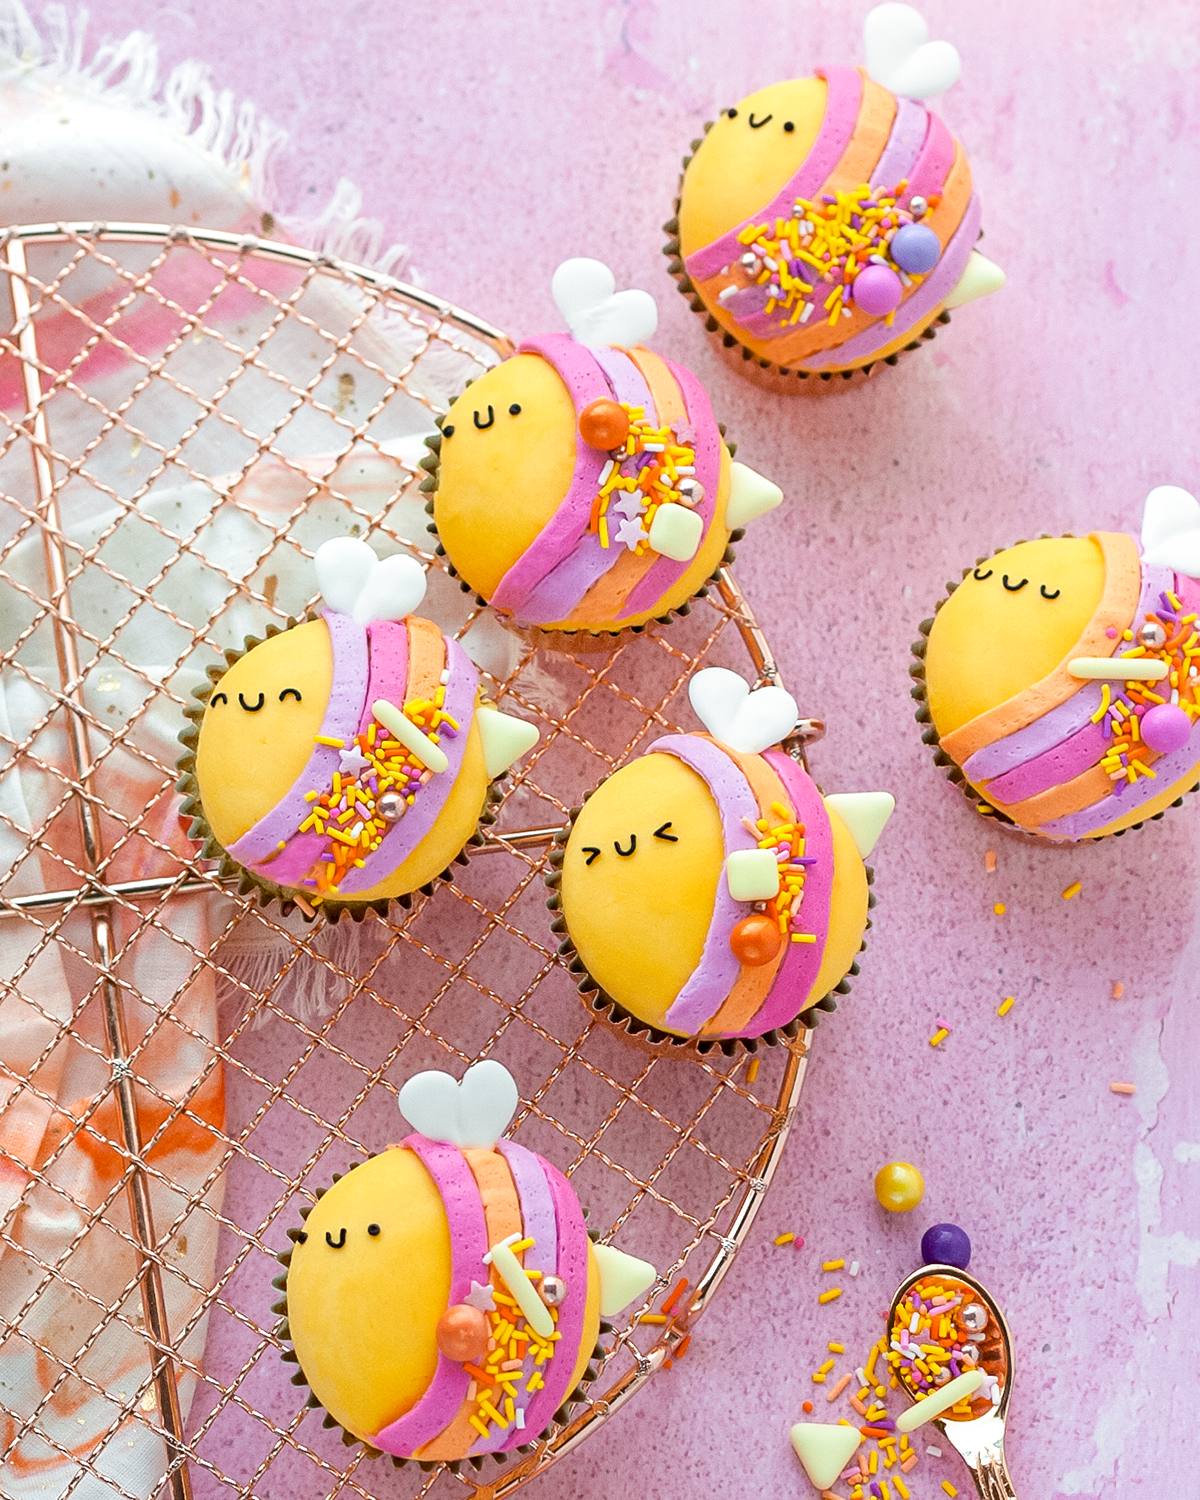
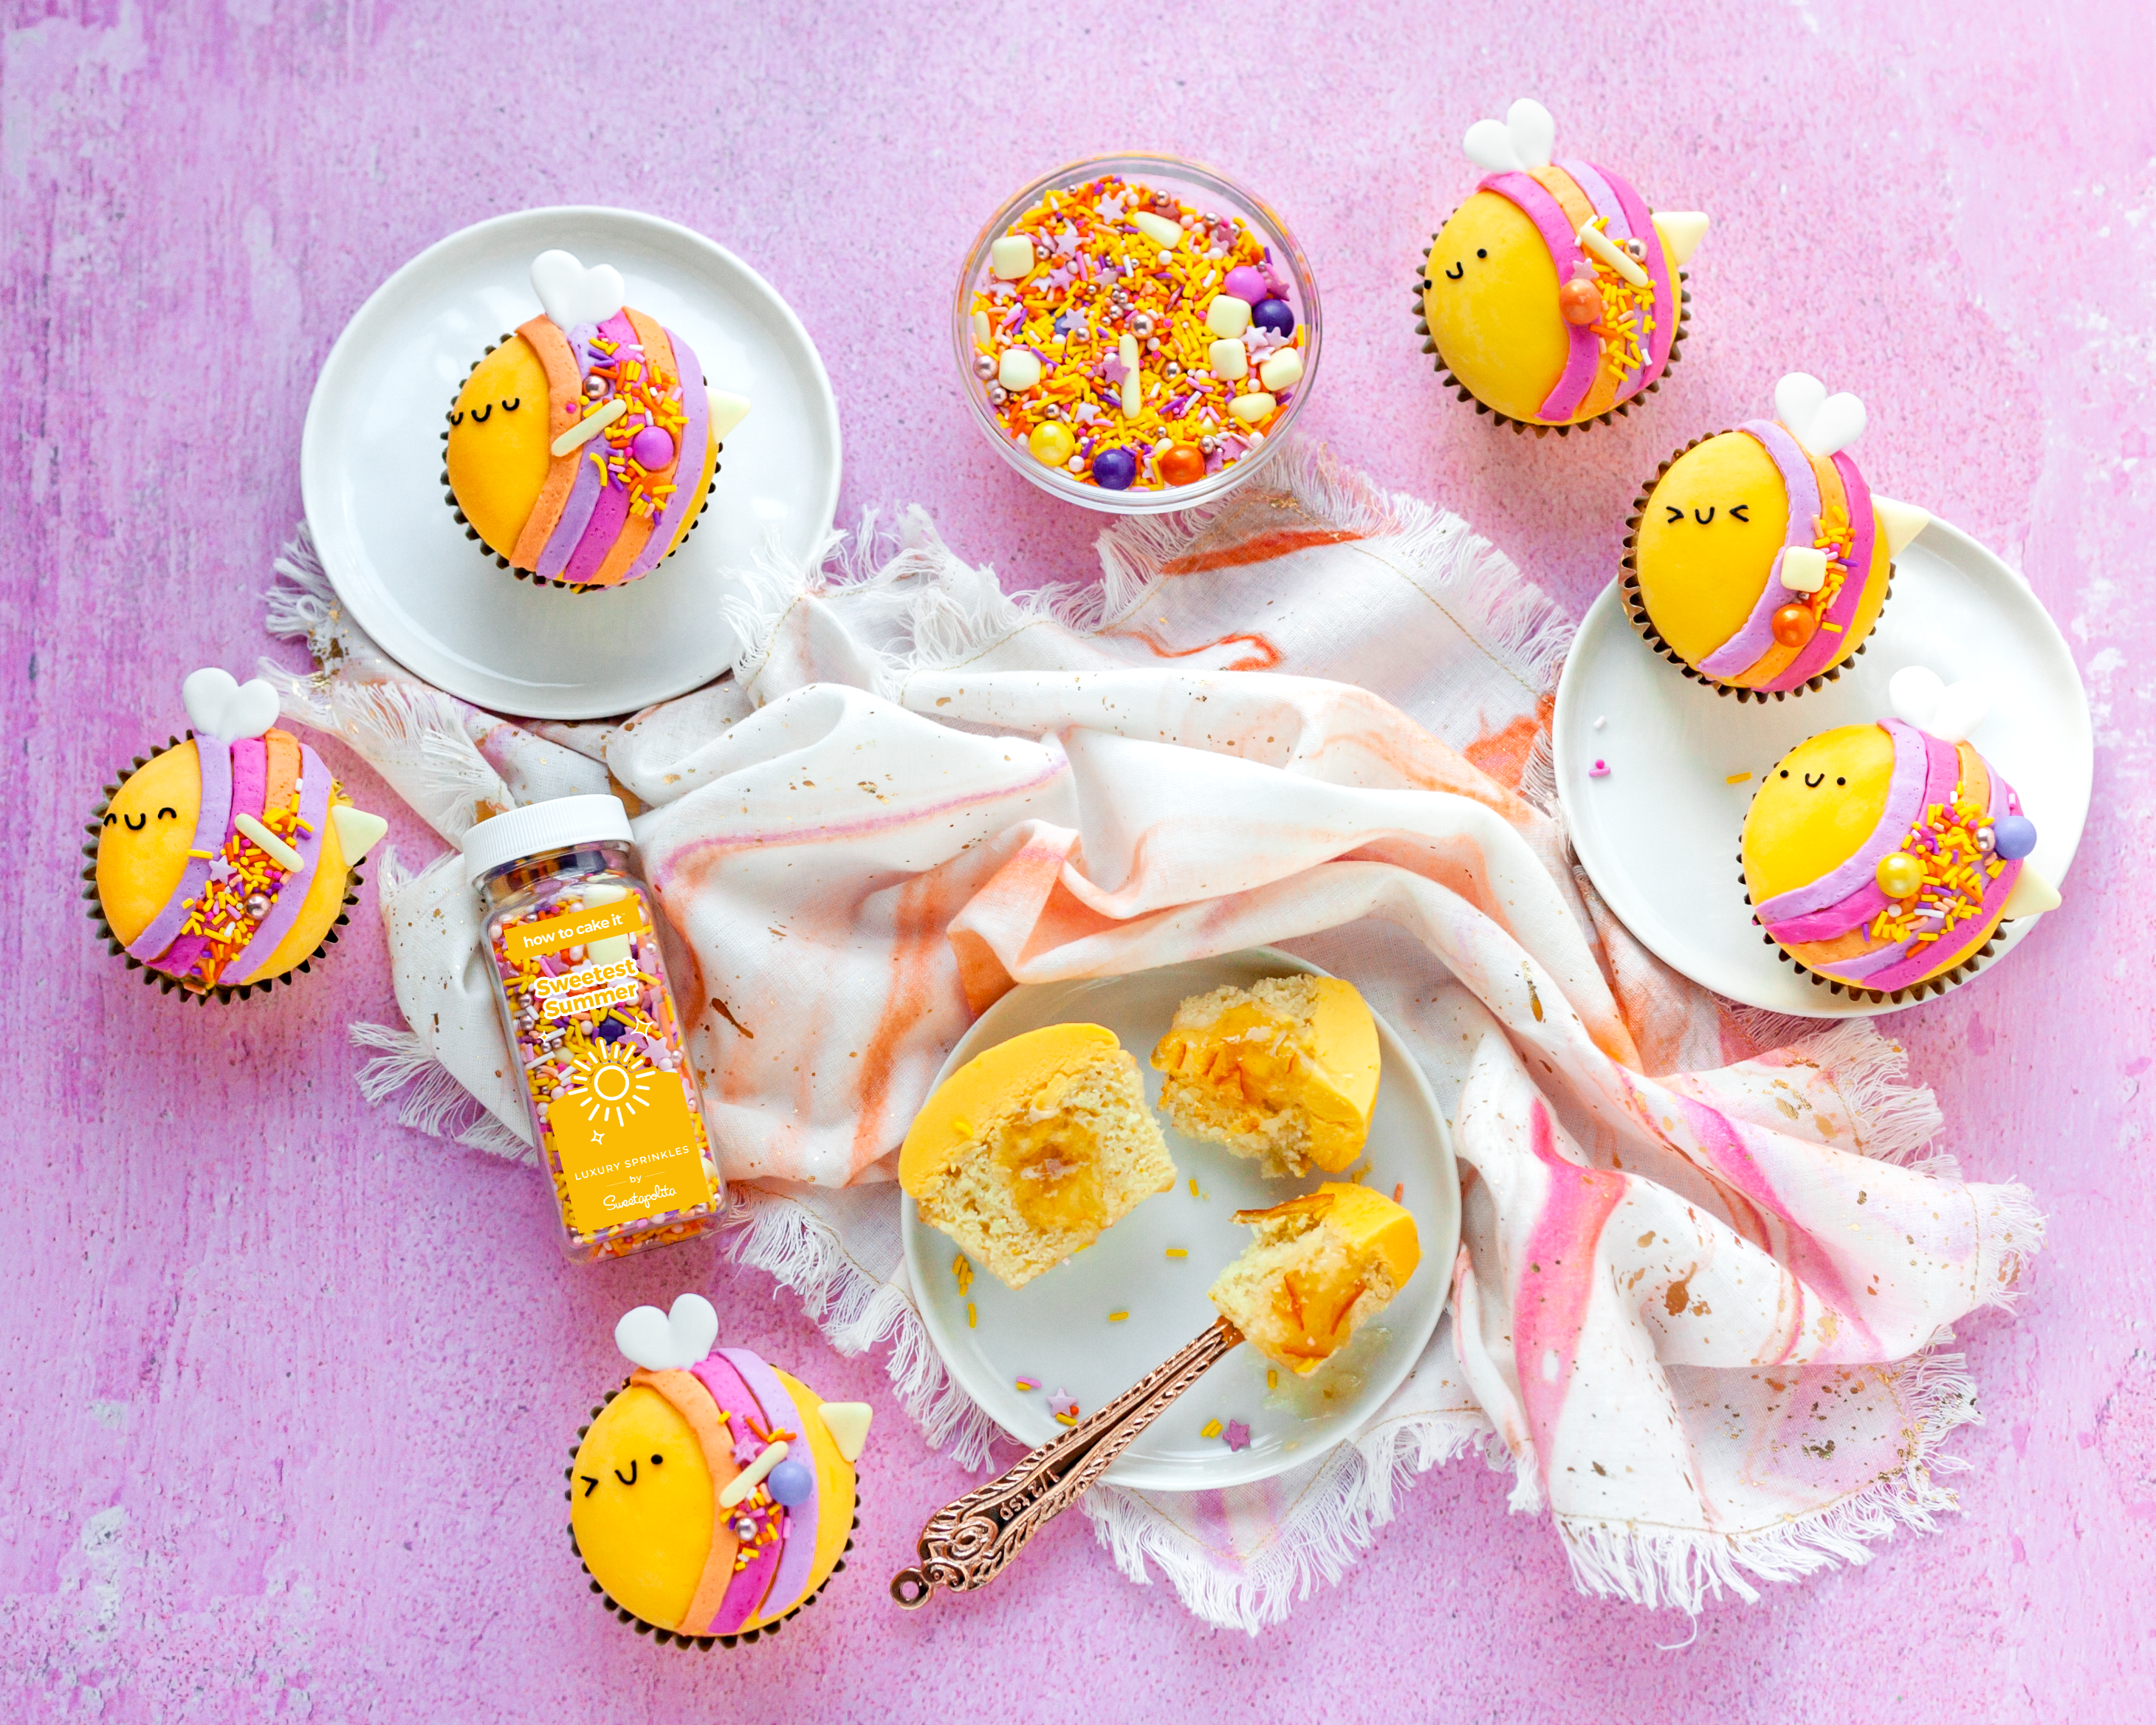
Bright sunny citrus meets creamy vanilla in these adorable creamsicle cupcakes. These flavors are full of nostalgia and we dare you or the kiddos in your life to look at these cute bees without being overcome by their cuteness. Impossible! They’re just too dang cute.

Ingredients
Orange Cupcakes
- 1 ¼ cups all-purpose flour
- 1 ¼ teaspoon baking powder
- ¼ teaspoon baking soda
- ¼ teaspoon salt
- ½ cup unsalted butter (1 stick), room temp.
- 1 cup granulated sugar
- 2 large eggs
- ¼ cup whole milk
- ¼ cup sour cream
- 1 teaspoon vanilla extract
- 1 teaspoon orange extract
- Zest from one large orange (about 1 tablespoon)
- ¼ cup fresh squeezed orange juice (from 1 large orange)
- Orange marmalade/jelly (optional, for filling the cupcakes)
Vanilla Buttercream
- 1 ½ cups unsalted butter, room temp.
- 4 ½ cups powdered sugar, (sifted after measuring)
- 2 teaspoons vanilla extract
- ½ teaspoon salt
- 4 tablespoons heavy whipping cream
- Pinch of salt (optional)
Decorations
- Sweetest Summer sprinkle mix
- Vanilla Buttercream
- Golden yellow, fuchsia, orange, and violet icing gel colors
- 5 piping bags (with couplers, for the piping tips, if using)
- 3 #47 piping tips or flat basketweave tips
- 1 large, round piping tip (I used 1A)
- 1 small, round piping tip (I used #1)
- White melting chocolate wafers
- Black decorating icing
Read It!
-
I like to take all my refrigerated ingredients out 30-45 minutes before baking so that they are all around room temp and blend together better.
Any time the buttercream gets too soft, just pop it in the fridge for 10-15 minutes before continuing to work with it.
-
Preheat the oven to 350 degrees F. Prepare a muffin pan with cupcake liners.
-
In a medium-size mixing bowl, sift, then whisk together the flour, baking powder, baking soda and salt. Set aside
-
Transfer the butter and sugar to the bowl of a stand mixer and beat on medium for 2-3 minutes until creamy.
-
Add in the eggs, 1 at a time, until thoroughly incorporated.
-
Scrape down the sides and bottom of the bowl, with a spatula.
-
Combine the milk, sour cream, both extracts, and orange juice in a large mixing cup. It’s easiest to zest the orange before squeezing the juice. Set the zest aside.
-
With the mixer on low, alternate between adding the dry and wet ingredients into the mixing bowl, starting, and ending with the flour. Mix just until the batter comes together.
-
Gently fold in the orange zest. Divide the batter evenly among the baking cups. Filling each cup about ¾ full. I find it easiest to use an ice cream/muffin scoop for this.
-
Bake for 15-19 minutes, or until a toothpick inserted in the center comes out clean. Allow the cupcakes to cool for 5 minutes in the pan before transferring to a cooling rack to cool completely.
-
You can whip up the frosting while you wait! Add the butter to the bowl of a stand mixer and beat on medium for 1-2 minutes, or until creamy.
-
With the mixer on low, slowly add in the sifted powder sugar and vanilla. Once incorporated, turn the speed up to medium and continue to beat for 3 minutes more.
-
Add the heavy whipping cream and mix, on medium, for 1 minute longer. Take 2 ½ cups of the frosting and place it into 1 large mixing bowl. Divide the rest evenly among 3 smaller bowls.
-
Color the large bowl of frosting with the golden yellow, and the smaller 3 with orange, violet, and fuchsia. Cover and set aside.
-
Once the cupcakes are completely cooled you can fill them. Use either a cupcake corer, the large, round piping tip, or a knife to carefully remove some of the middle of the cupcake (keeping the little cupcake “cap” to put back on). Dipping the piping tip or cupcake corer into cornstarch or powdered sugar makes it a lot easier since the cupcakes are very moist.
-
Transfer a few tablespoons of the orange jelly/marmalade to either a piping bag or a large zip-top bag. Cut a tiny corner off, and pipe it into each cupcake. Replace the “cap” on top.
-
To make the buttercream as smooth as possible, use a spatula to thoroughly mix each color as much as you can before transferring to piping bags. The yellow will be used with the large, round piping tip. When moving the frosting around the bowl you will notice the texture changing and less bubbles as it reaches a smoother consistency.
-
Hold the yellow frosting directly above each cupcake and pipe a round mound of frosting on top. Then you just gently tap the bottom of the cupcake on the countertop to evenly distribute the frosting (rolling the cupcake as necessary). Transfer the frosted cupcakes to the refrigerator for 30 minutes.
-
Now, we will make the wings. Melt the white chocolate wafers in a heatproof bowl, for 30-seconds at 50% powder. Continue to melt in intervals of 30-seconds, stirring after each, until smooth. Dip a toothpick into the melted chocolate and draw hearts onto a sheet of wax paper. Allow them to set before using.
-
Once the cupcakes are chilled, dip a spoon or offset spatula into hot water, dry, and use the heat to smooth out any bumps or peaks in the yellow frosting. You can also use the heat from clean hands to smooth it out. Transfer back to the refrigerator.
-
Working with 1 cupcake at a time, pipe stripes onto the bees using the orange, fuchsia, and violet frosting. I like to start at the front, leaving room for the bee’s face, then follow the curve of the cupcake with your first color. Use that stripe as a guide for the other stripes. You can make as few or little stripes as you’d like per bee.
-
Once all the stripes are completed, add a triangle sprinkle, from the Sweetest Summer mix to the back of each bee as the stinger.
-
Place your wings on top of the stripes, and use the black decorating frosting and small, round piping tip to pipe the faces onto each.
Decorate with sprinkles, and the cupcakes are ready to be enjoyed!
-
Extra undecorated cupcakes can be stored loosely covered at room temperature for a few days, or frozen for longer.
Extra buttercream freezes great! Decorated cupcakes can be stored in an airtight container in the refrigerator for about 4 days, or frozen for longer.
Remove the cupcakes from the fridge at least 30 minutes before eating for a fluffier cupcake with softer frosting.
Congratulations you did it!


