JIF Peanut Butter Cake


That JIFing Good! It’s officially back to school season so I decided I wanted to cake up a giant jar of peanut butter… (I also just needed another excuse to make my delicious peanut butter cake).
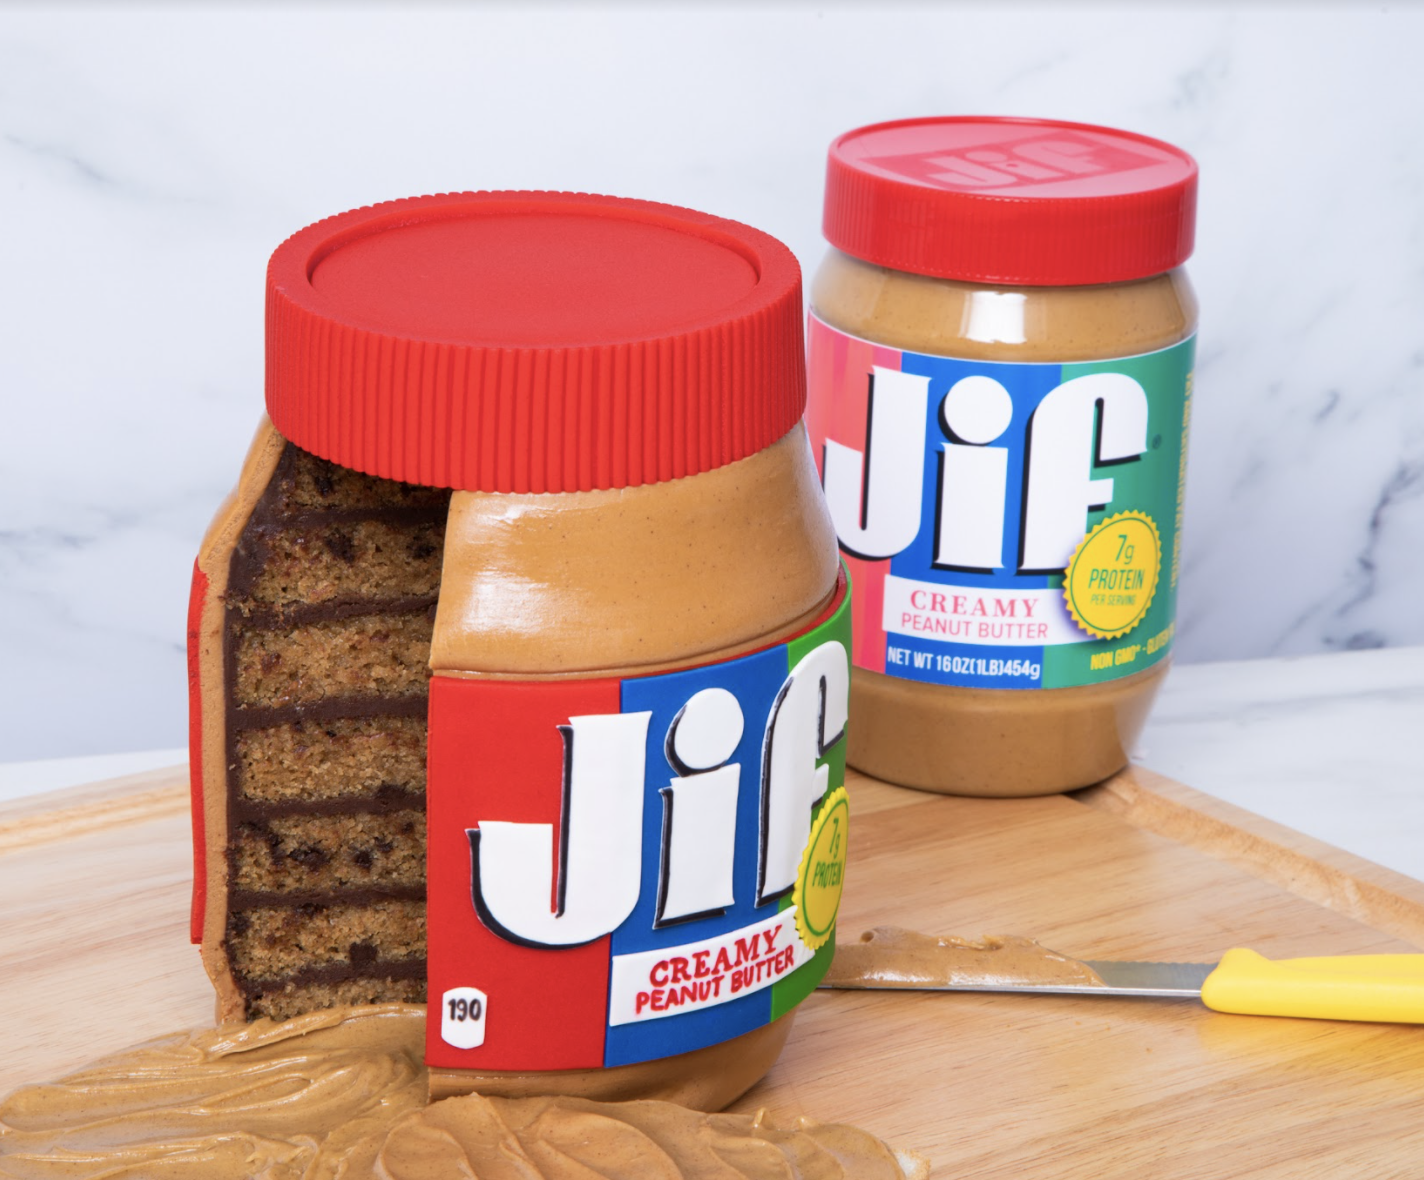
This Giant JIF Peanut Butter Jar will definitely be your main squeeze with its layers of peanut butter cake with chocolate chips folded in, chocolate ganache, and not to mention the cinnamon sprinkled fondant! I made the iconic red, blue, and green label out of fondant and used various food coloring markers to detail it to perfection!


Ingredients
Cake
- 3lbs of Peanut Butter Cake with chocolate chips
Icing
- 1 batch of Simple Syrup
- 1 batch of Chocolate Ganache
Decorations
- 1¼ lbs peanut butter colored fondant
- Ground cinnamon
- 1oz yellow fondant
- 2oz green fondant
- 2oz blue fondant
- 1lbs red fondant
- White gumpaste
- Food coloring markers: black, red, green

Tools
- Simple Syrup Bottle
- Parchment Paper
- Circle Cutters
- Strip Cutter no.1
 Gourmet Cake Slices with Yolanda Gampp
$29.99
Gourmet Cake Slices with Yolanda Gampp
$29.99


Read It!
-
Line your pans with parchment paper and preheat the oven to 350 degrees Fahrenheit. Prepare 3lbs of peanut butter cake with chocolate chips folded in. Bake each for 45 minutes then let them cool in their pans before removing.
-
Remove your cakes from their pans then level each one and remove the caramelization from the bottoms. Layer each of your cakes into two layers then use a smaller circle cutter to trim away the edges.
-
Use Sir Squeeze A Lot to soak each of your cake layers with simple syrup then let them set for a few minutes to absorb.
-
Fill and stack your cake layers with ganache then chill.
-
Use a large serrated knife to carve your cake into the shape of a peanut butter jar - with an angled top and bottom.
-
Crumb coat your cake with ganache then chill until firm. Ice it once again this time using a bench scraper then chill.
-
Knead your ground cinnamon into the peanut butter colored fondant. Roll a small amount of fondant out then cut out a circle the size of the top of your cake. Smooth it out on top of your cake.
-
Measure the circumference and height of your cake then roll out more fondant according to those measurements. Roll the fondant backwards onto a french rolling pin then unravel it around your cake. Cut a clean seam at the back of the cake where the fondant overlaps itself then smooth it along. Use a ruler or mat board to make impressions where the jar tapers. Trim away any excess.
-
Mix a tiny bit of fondant with water to create a paste then hide the seam at the back of the cake.
-
Roll out your colored fondant: red, yellow, blue, and green as well as your white gumpaste. Use a template to cut out all of the pieces of the label including the background, letters, and details.
-
Use a food coloring marker to fill in the details then add the label to the cake.
-
Roll out a red circle of fondant and bands long enough to wrap around the circumference of the cake. Indent the band with a strip cutter along the surface then use a circle cutter to cut out a perfect circle. Glue it to an actual lid with piping gel then cut the bands slightly taller than the lid and wrap them around. Trim a clean seam.
-
Paint the top and bottom of the jar with clear piping gel to give it a bit of shine.
Congratulations you did it!
