Gumball Machine Cake


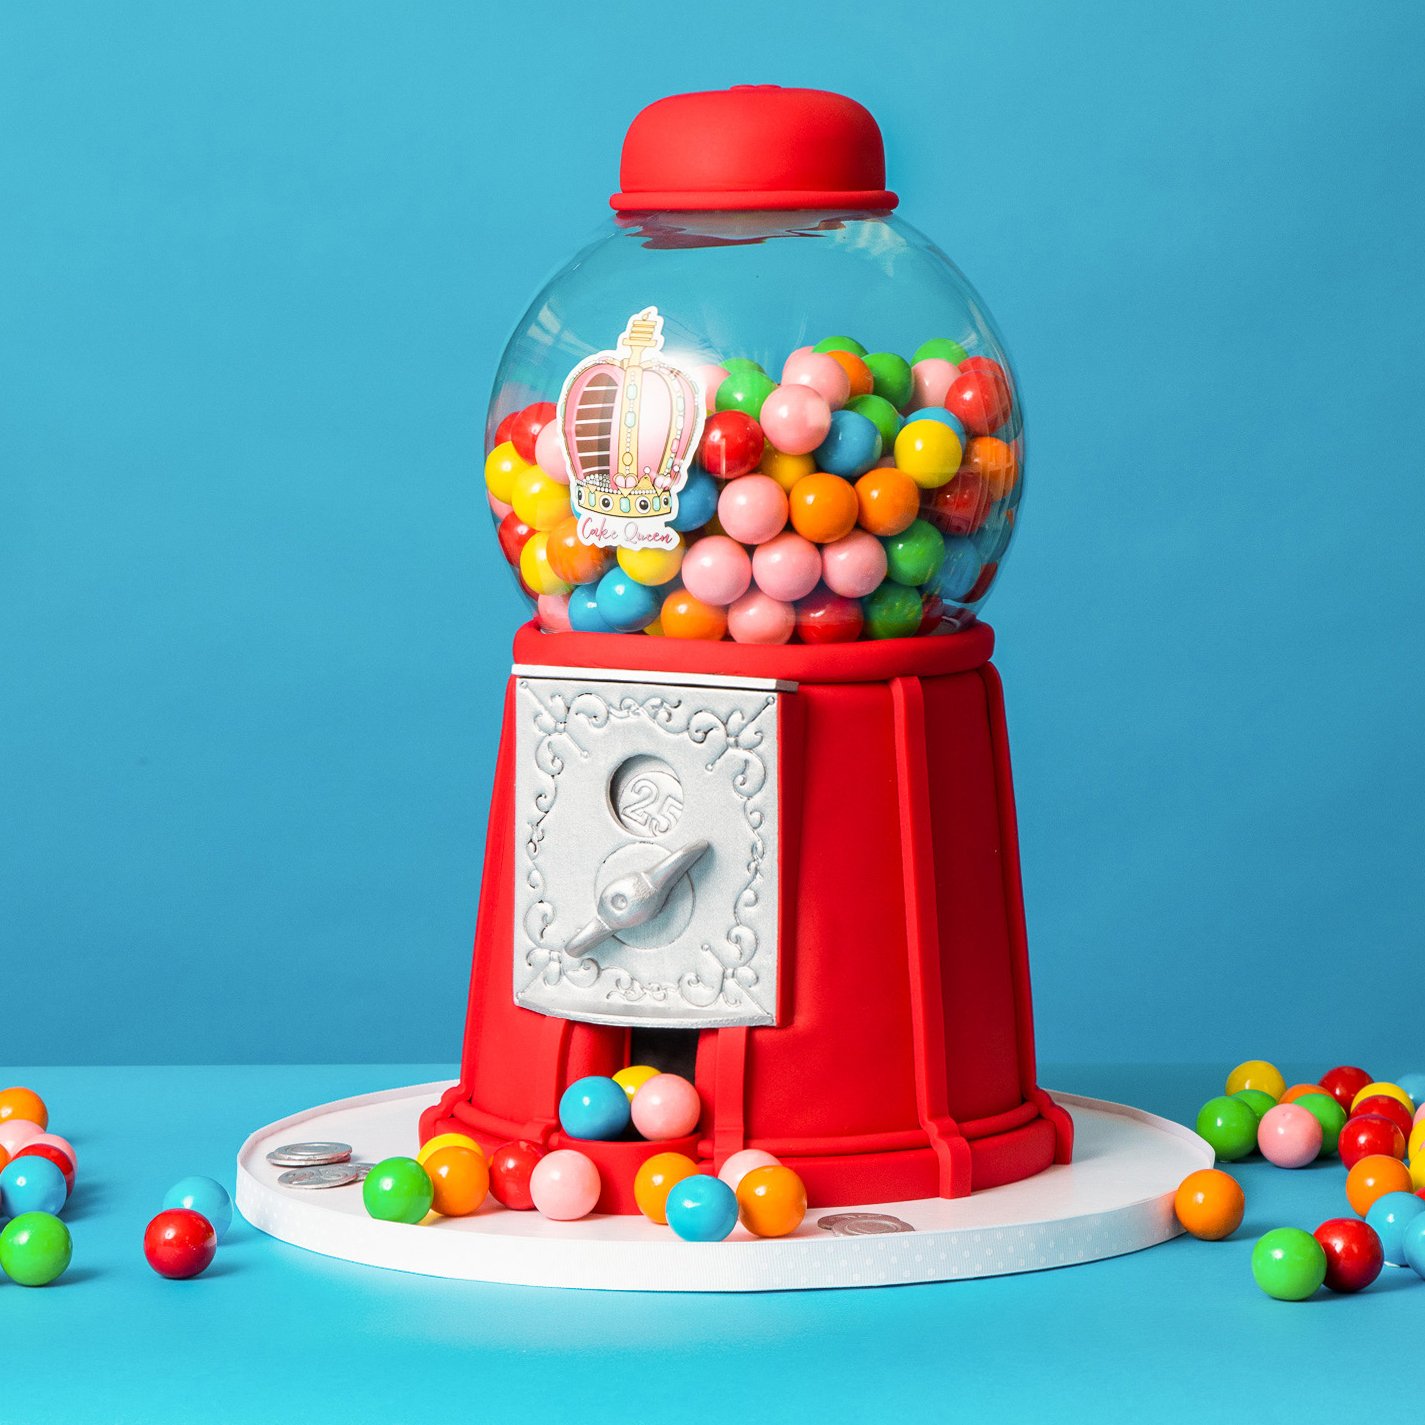
I Chews You! Ever wanted your own gumball machine in your house? Well now you can have one that’s even better because it’s made out of CAKE! Whether you are a bubble blowing master like me or a bubble blowing beginner, this Gumball Machine cake is sure to make you feel extra bubbly and will definitely blow you away!
To cake my Gumball Machine cake, I began by baking 11lbs of my Ultimate Vanilla Cake into bright bubblegum colours then stacked them up with my sweet Italian Meringue Buttercream between each layer. The cake is also topped off with a dome full of colourful gumballs ready to be chewed.


Ingredients
Cake
- 11lbs Yo's Ultimate Vanilla Cake
- Orange, Red, Yellow, Pink Gel Food Colouring
Icing
- 1 batch of Simple Syrup
- 1 batch of Yo’s Italian Meringue Buttercream
Decorations
- 6oz grey gumpaste
- 4lbs red fondant
- Silver lustre dust
- Clear food grade alcohol
- 2oz black fondant Gumballs

Tools
- 2 x 7" Round Cake Pans
- 2 x 8" Round Cake Pans
- Parchment Paper
- Simple Syrup Squeeze Bottle
- Circle Cutters
- Small Paring Knife
- Large Serrated Knife
- Small Straight & Offset Spatulas
- Glass Bowl
- Fondant Smoother
- Fondant Rolling Pin
- Clay Extruder
 Gourmet Cake Slices with Yolanda Gampp
$29.99
Gourmet Cake Slices with Yolanda Gampp
$29.99


Read It!
-
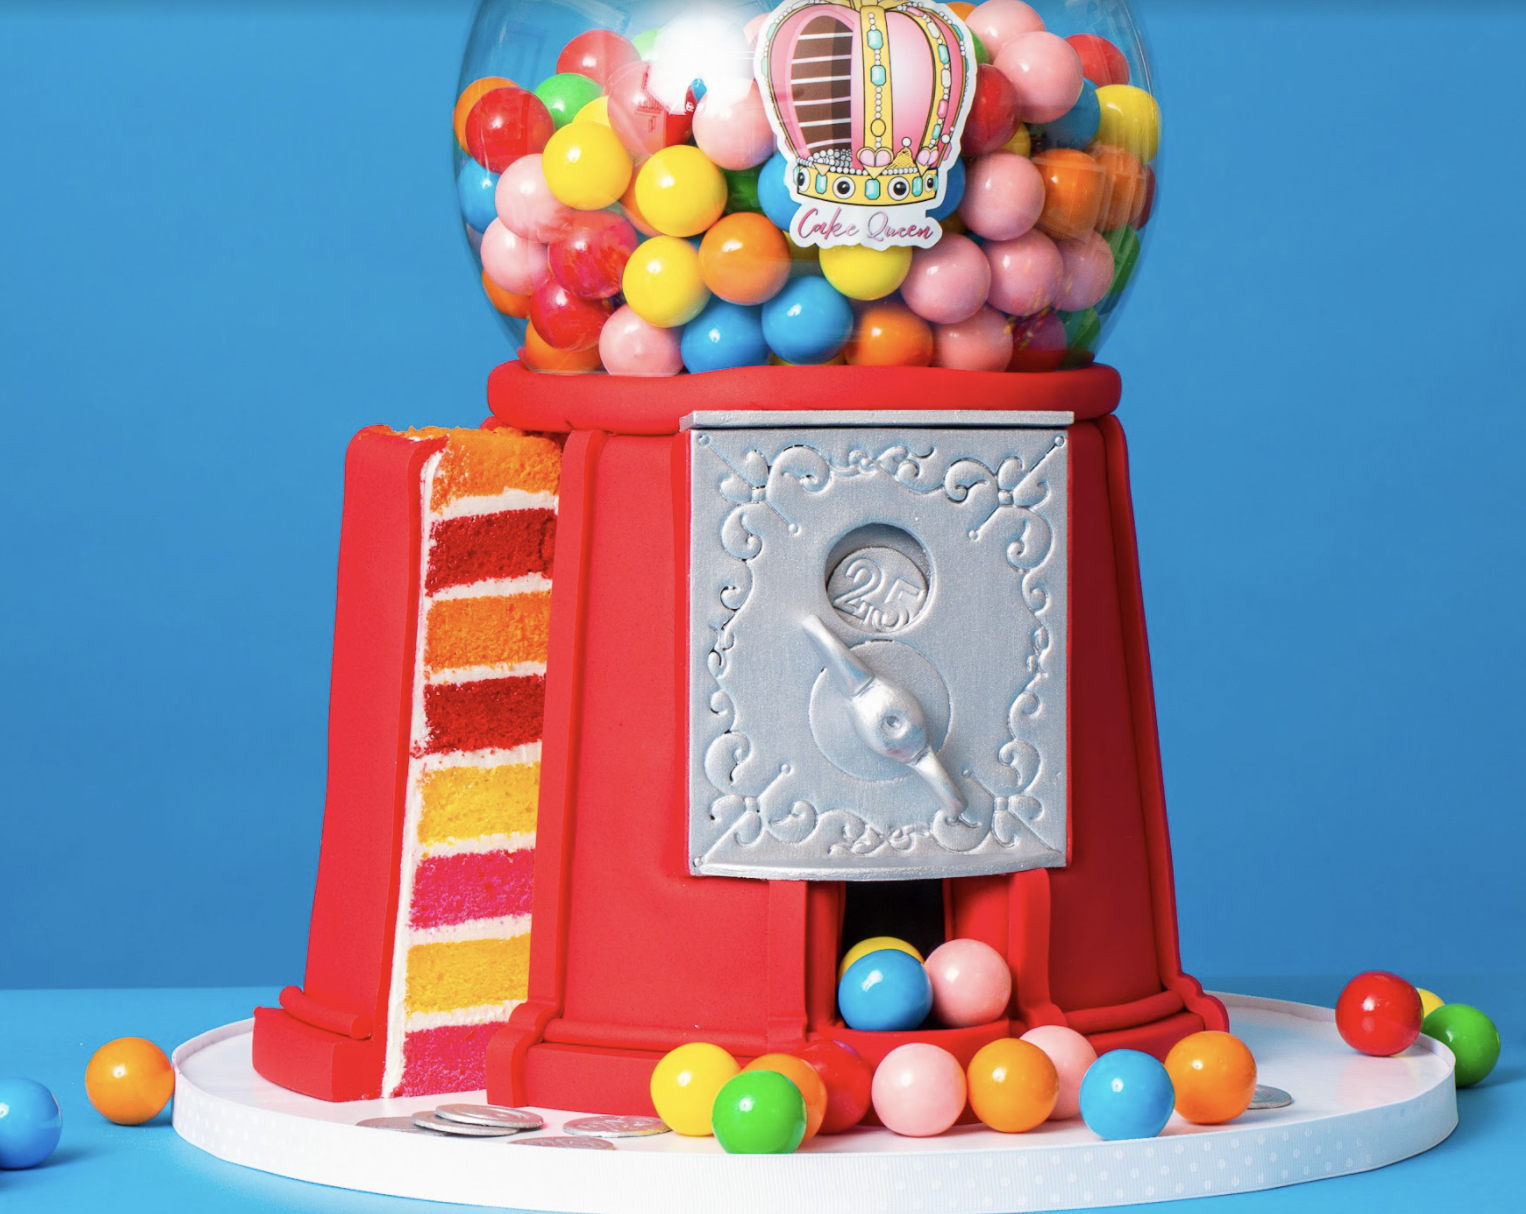
Begin by preparing your 11lbs of Ultimate Vanilla Cake. Divide your batter into four bowls – two with 2.5lbs of batter each and two more bowls with 3lbs each. Dye one of the smaller batches orange and the other red. Then dye your last two larger batches yellow and pink making a total of four brightly coloured parts of batter. Pour your orange and red batter into two 7” round pans lined with parchment paper than bake at 350 degrees Fahrenheit for 1 hour and 30 minutes. Pour the yellow and pink batter into their own respective 8” round pans lined with parchment paper for 1 hour and 40 minutes at 350 degrees Fahrenheit.
-
Remove all of your cakes from their pans then level and remove the caramelization to reveal their bright colours. Cut each cake into two layers creating a total of eight colourful layers.
-
Soak all of your layers with simple syrup using Use Squeeze-A-Lot then let them absorb for a few minutes.
-
Begin filling your cakes with IMBC and stacking in an alternating pattern between the pink and yellow 8” layers. Once you have stacked all your 8” layers, stack the 7” layers alternating between red and orange. Let your cake chill for a couple minutes until it is firm enough to carve.
-
Carve your cake into an A-line shape creating the gumball machine base. Then carve the front of the machine to create a flat face for the coin slot to approximately the bottom three layers then create a dispenser for where the gumball would fall out of on the bottom three.
NOTE: Place your bowl on top to ensure that there will be enough room for it to sit comfortably on top.
-
Crumb coat the body of your gumball machine with IMBC then place it in the fridge until firm.
-
Take your humps of extra cake and cut out two circles from your leftovers using circle cutters. Stack them on top of one another then round off the top of the top circle.
-
Fill your two small layers with IMBC then crumb coat and chill.
-
Remove your cakes from the fridge (both the body and the cap) then ice with more IMBC and chill both.
-
Roll out some black fondant then cut a strip to fit the mouth of your gumball machine. Carefully bend it inwards into the opening pressing it down gently with a ruler or small offset spatula to make sure it sits properly. Make sure to trim away any excess. Wrap the body of your gumball machine with red fondant cutting a clean seam down the front of the cake. Smooth it all out and cut away your excess from the bottom as well as the mouth. Place a cake pan on top and cut around it to get rid of the excess fondant on top.
-
Roll out a long strip of red fondant then set it aside. Roll out a square of more red fondant making it thicker on one end and thinner on the other. Roll out another small little piece of red fondant to create the cap top screw. Place all of these pieces in the fridge to chill.
-
Roll out a small strip of red fondant and cut it to create a small lip to wrap around the outside of the gumball machine mouth. Clay extrude some red fondant and wrap it around the body above the bottom ledge gluing it on using clear piping gel. Next, roll out another sheet of red fondant and cut it into equal strips.
-
Using a fabric measuring tape, measure the circumference of the cake making marks at equal intervals around the bottom. Mark the same number of sections of equal distance at the top of the cake as well. Take the red fondant strips you cut in the previous step and glue them vertically up the cake all around connecting the bottom marks to the top.
-
Using the same pan you used earlier to cut away the excess fondant at the top of the machine, cut out a circle of red fondant to fill in the gap.
-
Roll out some grey gumpaste then cut a face plate out. Use an embosser to create a pattern around the border of the plate. Next, use a circle cutter to cut out a hole for the coin and create another larger circle mark below it.
TIP: Make double of all the pieces (the coin slot, knob, and coins) for safety
-
Make the knob for the gumball machine out of more grey gumpaste molded to the correct shape Remember to make a pilot hole with a toothpick.
-
Cut circles out of gumpaste then using number tappits, imprint “25” on each coin and add a heart to each coin.
-
After all your pieces have dried, paint them all with silver lustre dust mixed with food grade alcohol.
-
Glue on the red fondant square that you made earlier to the flat face of your cake with some clear piping gel. Line up your silver faceplate to the red plate and cut a hole out of the red piece then add a silver circle of the same size to the hole so that when your faceplate is completely assembled, there will be some depth. Glue your silver faceplate on using some royal icing.
TIP: If there are gaps between the faceplate and your cake body, use some excess red fondant cut into strips and fill them in.
-
Cut four dowels to the height of your cake and insert them into the body for support.
-
Pour some gumballs into your bowl then take a foam board cut to the size of the bowl’s opening and lay it on top of the bowl. Spread some royal icing on the top centre of the cake. Take some masking tape and tape the board to the bowl then flip it over and place it on top of the cake. Using scissors, cut away any visible tape.
-
To make sure the bowl is sitting completely flat on top of the cake, use a small paring knife to cut away any parts of the strips that may be making the bowl unlevelled.
-
Roll out a long piece of red fondant then wrap it around the bottom of the bowl to hide the foam board and stop the bowl from shifting.
-
To fill in the gap above the coin plate, cut a small strip of grey gumpaste out and using a circle cutter, cut one edge making it round to fit the body of the cake. Slide this in into the gap above the faceplate and the fondant dam made in the previous step.
-
Roll out some red fondant then drape it over the cap you made earlier. Smooth it out then cut away the excess. Take a small circle cutter and turn the cutter upside down then make a light indent into the top centre of the cap. Take the small piece of red fondant you created earlier and chilled to create a disc with a line down the centre and glue it into the circular indent at the top to create a screw like piece.
-
Spread on some royal icing to fill in the dip at the top of the bowl then place the cap on top in the centre. Clay extrude a bit more red fondant then wrap it around the cap.
-
Take a toothpick and push it through the pilot hole on the front plate only leaving enough sticking out to hold the knob in place. Push the knob all the way in to hide the toothpick.
-
Add some extra gumballs to the mouth of the gumball machine then if you would like to add an extra How To Cake It touch, add one of our Mix 'Em Up Stickers to the front of the bowl.
Congratulations you did it!
