Giant Mango Cake


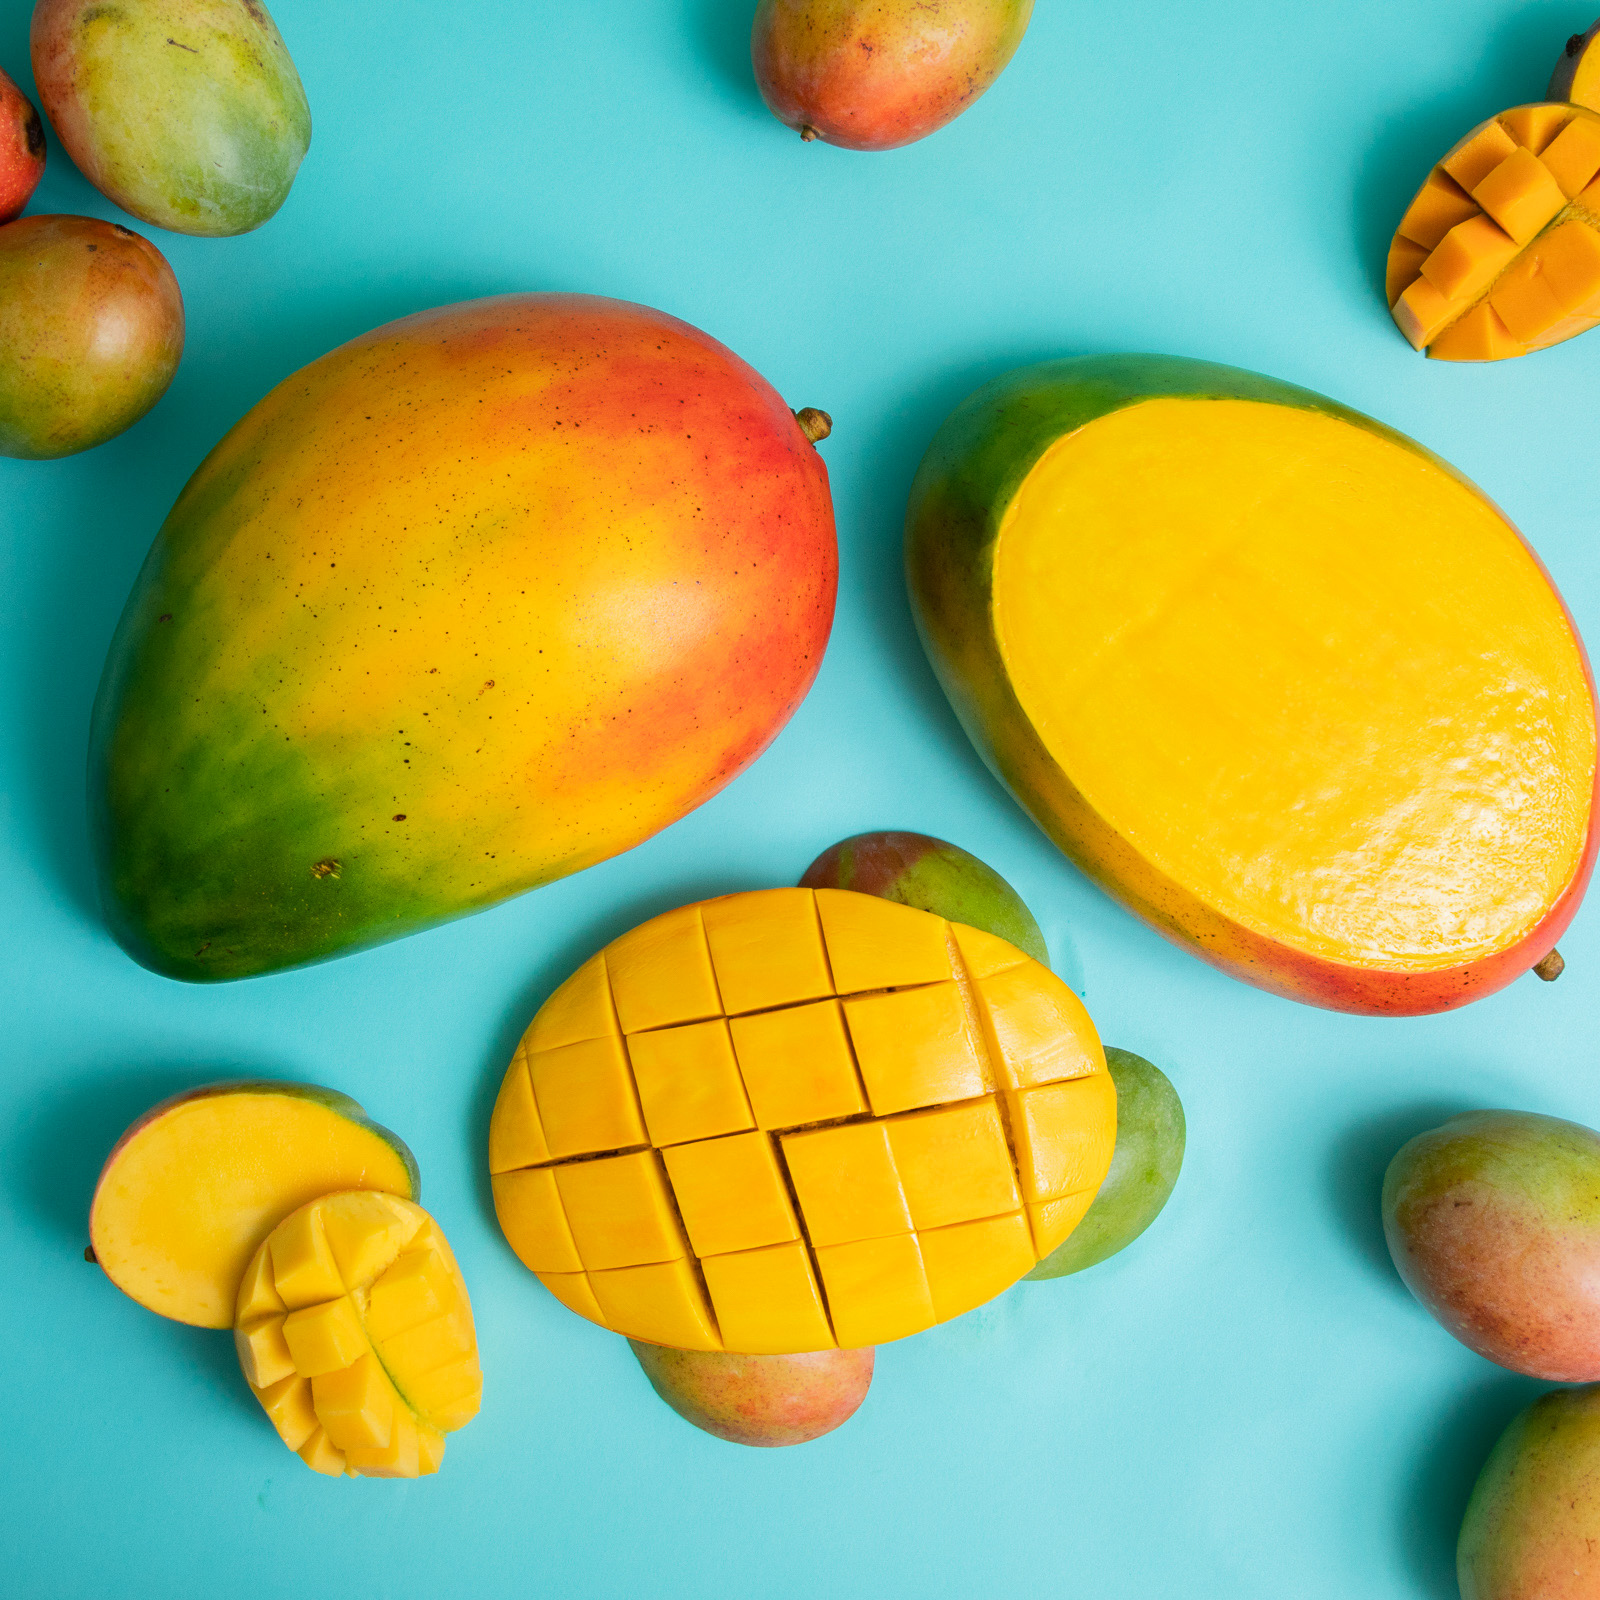
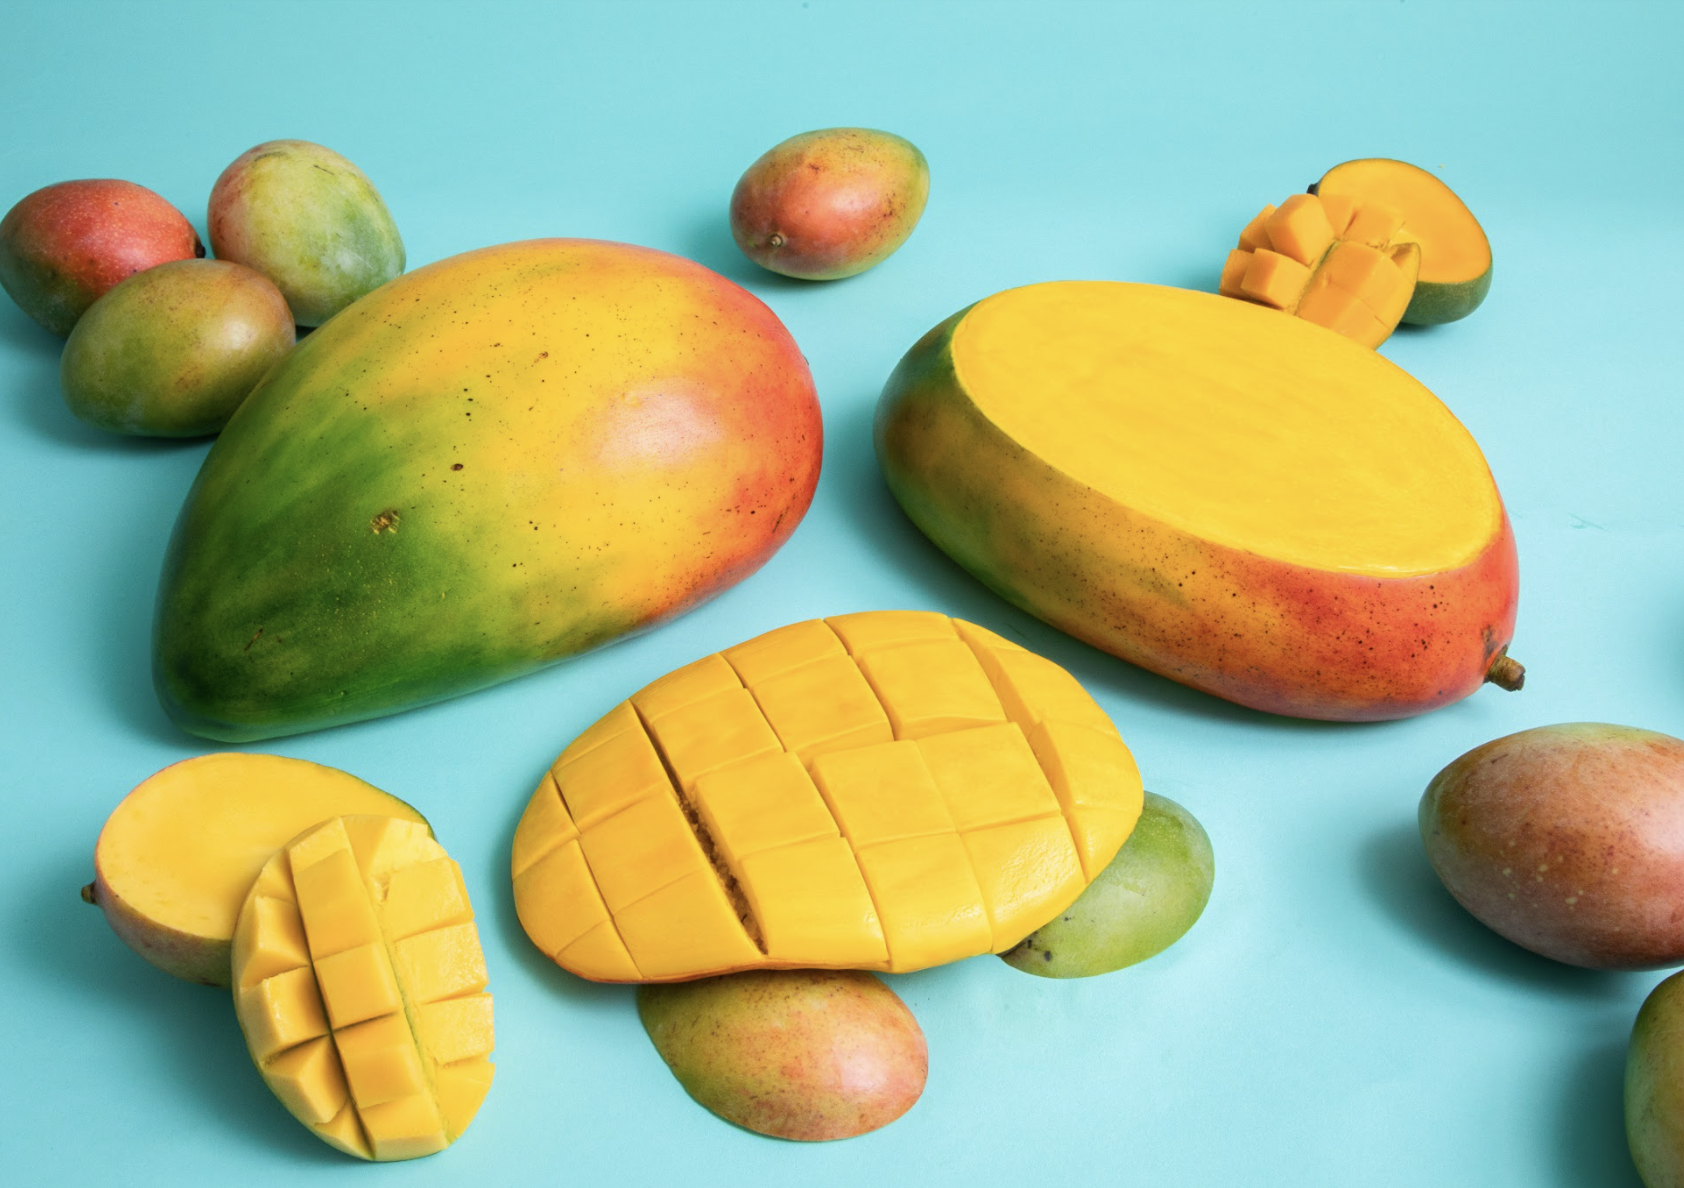
A MANGOnificent Cake! One of my favourite fruits would definitely have to be mangos because they are so sweet and remind me of island living! So of course, I decided to cake one to show my appreciation for the juicy fruit but I had to make it GIANT!
To make my Mango cake, I began by caking 19 lbs of my Ultimate Vanilla Cake. Each layer is filled with a mango pureed flavoured Italian Meringue Buttercream giving the cake a tropical bite. The fondant is also dusted in various colours giving it a realistic look to resemble the delicious summer fruit.


Ingredients
Cake
- 19lbs Yo’s Ultimate Vanilla Cake
Icing
- 1 batch of Simple Syrup
- 1 batch of Yo’s Italian Meringue Buttercream
- Mangos
Decorations
- 4lbs of yellow fondant
- Taupe fondant
- Yellow colour dust
- Green colour dust
- Red colour dust
- Orange colour dust
- Brown gel food colouring

Tools
- 2 x 8" Round Cake Pans
- 4 x 9" Round Cake Pans
- Simple Syrup Squeeze Bottle
- Small Paring Knife
- Parchment Paper
- Small Offset Spatula
 Gourmet Cake Slices with Yolanda Gampp
$29.99
Gourmet Cake Slices with Yolanda Gampp
$29.99


Read It!
-
To make this mango mega cake, I began by making 19 lbs of my Ultimate Vanilla Cake then dyed all of the batter with buttercup yellow, orange, and lemon yellow to create the mango colour. Divide 5 lbs of batter into two 8” round pans lined with parchment paper and bake for 1 hour and 15 minutes at 350 degrees Fahrenheit. Divide the rest of your batter into four 9” round pans then bake at the same temperature but for 1 hour and 25 minutes.
-
Remove all your cakes from their pans then level each one and remove the caramelization from the bottoms.
-
Stack your cakes up then carve them into mango shapes using actual mangos as models. Continue adding the bits of excess to bulk your cakes up until you are satisfied with the shapes.
NOTE: There is no specific way your mangos should be carved so just shape them to the best of your abilities.
-
Peel your mangos then cut them up leaving the pit. Puree your mango pieces in a food processor until all the chunks are gone then strain your mixture leaving just the mango puree with minimal liquid.
-
Unstack all of your cakes then using Sir Squeeze-a-lot, soak all of your layers with simple syrup.
-
Take your strained mango puree then mix it into the Italian Meringue Buttercream giving it a mango flavouring. Use some extra orange and yellow gel food colouring to brighten up the colour to match the cake layers.
-
Fill your cake layers with your mango flavoured IMBC and reassemble them into their mango shapes with IMBC between each piece.
-
Crumb coat your cake with more of the mango IMBC then place it in the fridge for a couple of minutes to chill.
-
Remove your cake from the fridge then ice it with more IMBC and place it back in the fridge to set.
TIP: Use my invention - a clear piece of acetate, to smooth out all of the edges.
-
Roll out some yellow fondant then drape it over your cake ensuring to trim off the excess at the bottom.
-
To make your cake even more realistic, use a makeup brush to brush on your various colour dusts. There is no specific pattern so use an actual mango as reference then have fun with it.
NOTE: Mine was mostly red on one end and green on the other but that is just how I decided to make mine!
-
To create the little nub at the end of the cake, take some taupe. Fondant and form a small cylinder. Using round piping tips to cut and texture it. Use some green and yellow colour dust to add some colour and depth to the nub itself then paint on some brown gel food colouring around the nub to make it more realistic.
-
Using a paint brush, splatter on brown gel food colouring all over your mango to give it some imperfections. If you get any bubbles or have any spots with too much paint, use a tissue to lift the paint. You can also add a couple imperfections by using a small paring knife and making tiny indents then filling them with more brown gel food colouring. Next, let your mango sit and dry completely.
TIP: Use some plastic or latex gloves to prevent getting any food colouring on your skin.
-
Cut a slice off the top of one of your mangos and spread on a thin layer of IMBC. Take a piece of parchment paper and place it over the slice then use a pencil to lightly outline the shape of the cut. Cut that shape out then place it over a rolled out thin piece of yellow fondant and cut it out of the fondant. Roll out the edges with a small rolling pin then carefully add this thin piece of fondant to your cake where you sliced before.
-
Cut out another piece of fondant to the shape of the template but this time, use a thicker piece of fondant. Roll out the edges on this piece as well but keep the middle part thicker. Next, use a small paring knife to lightly cube it like you would with an actual mango. Once you have created the grid, use a larger knife to create deeper indents but do not cut all the way through.
-
Add some IMBC to your slice of mango you cut off before then to glue on the cubed mango fondant as if this slice were cubed and ready to eat.
-
Use some more food colouring to paint onto the cubed slice giving it a shine.
Congratulations you did it!
