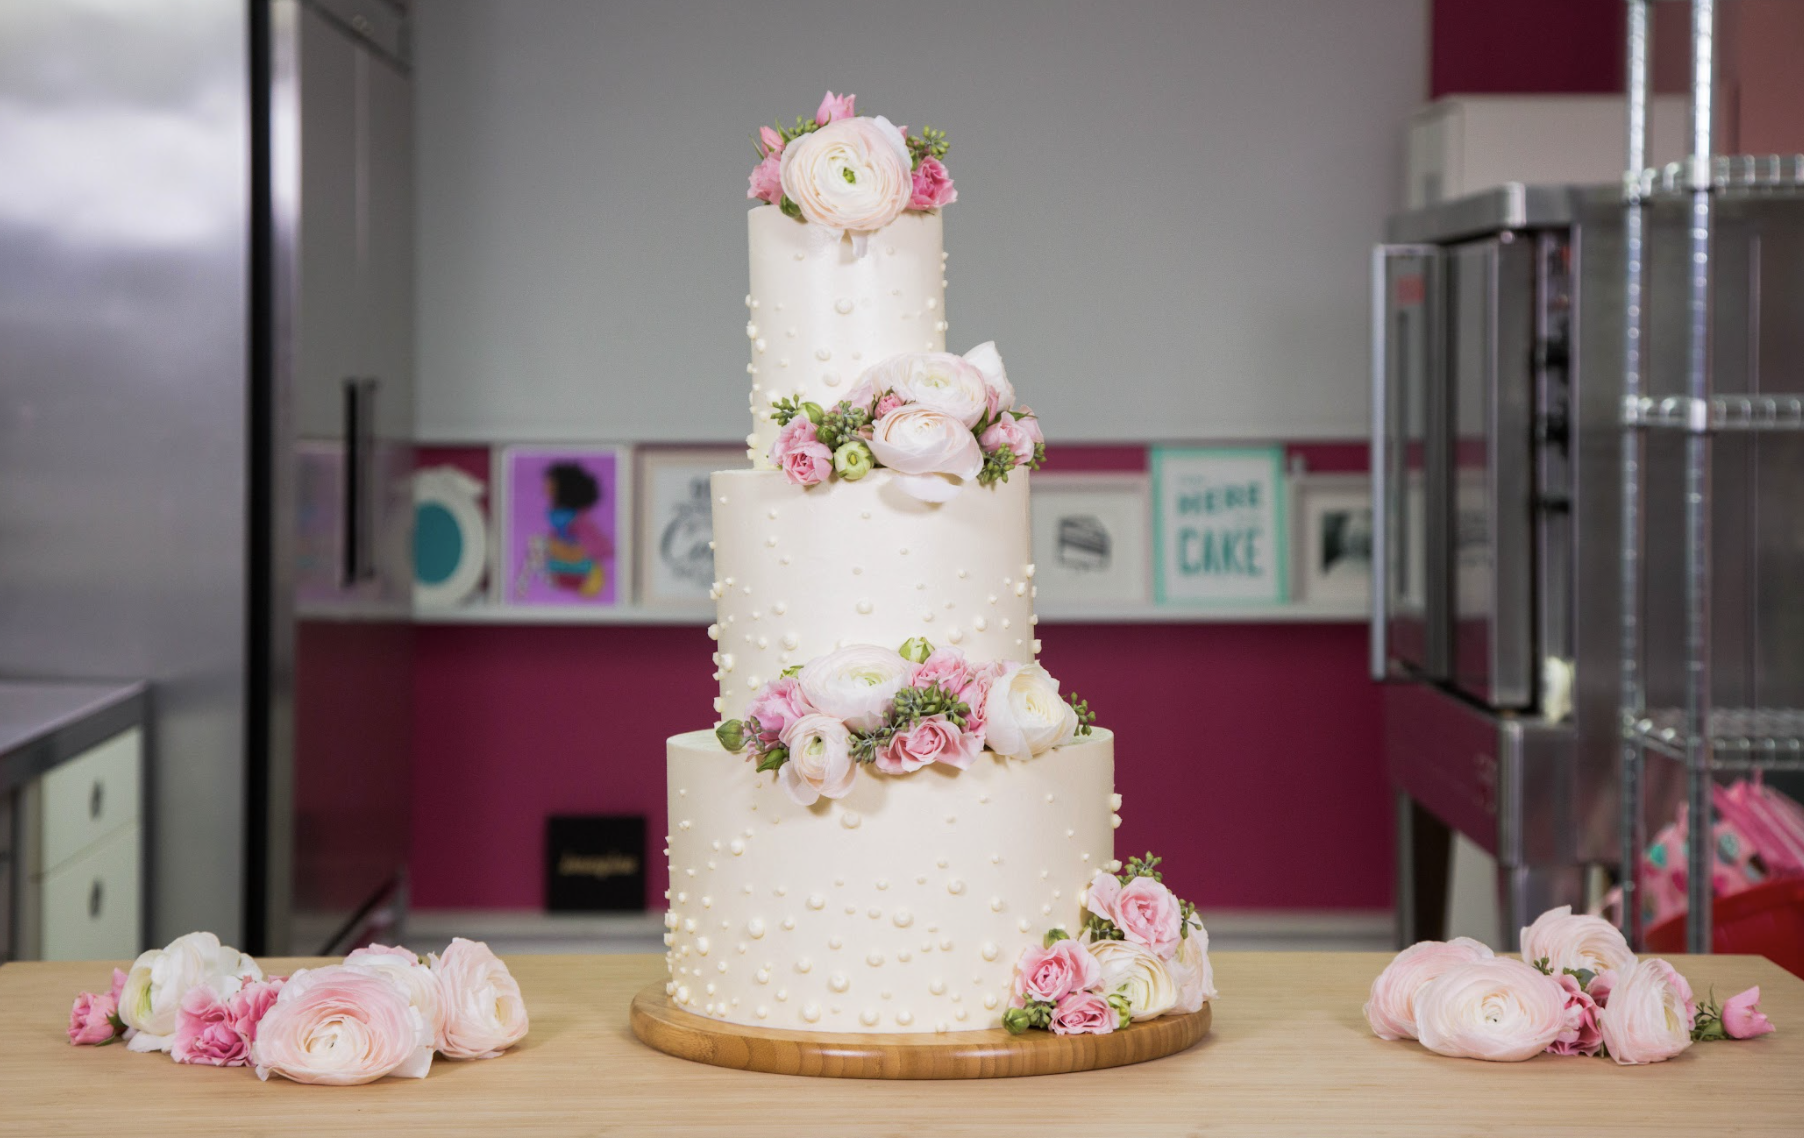
This carrot cake is fresh from the garden! Personally, I think Mothers Day should be everyday- being a mom myself though, this may be a biased opinion. But how awesome are moms? They deserve to be celebrated! While you could buy your mom a bouquet of flowers and a cake separately, you could also CAKE her something super special like this BEAUTIFUL spring inspired floral tiered cake!
To kick off this creation I started with a whopping 20lbs of my Ultimate Carrot Cake, showered with Orange Spice Simple Syrup, and layered with rich Cream Cheese Frosting. Inspired by a Martha Stewart cake I saw when I first started baking, I decorated my tiers with Italian Meringue Buttercream, piping on different sized polka dots as I went. To make this cake extra special I arranged bunches of flowers on my offset layers as a finishing touch.

Ingredients
Cake
- 20lbs Yo’s Ultimate Carrot Cake
Icing
- 2x Orange Spice Simple Syrup
- 3x Italian Meringue Buttercream
- Cream Cheese Frosting
Decorations
- Assorted Fresh Flowers
- Italian Meringue Buttercream
Tools
- 3 x 12" round cake pans
- 3 x 6" round cake pans
- 3 x 4" round cake pans
- Simple syrup squeeze bottle
- Piping bag
- Coupler
- Assorted round piping tips
- Large offset spatula
- Large straight spatula
- Small offset spatula
- Bench scraper
- Dowels
- Thick straws
- Gardening shears
- Floral tape
- Ruler
Read It!
-
Divide your batter amongst your pans, using half the amount in one pan of each size so you can have a total of 5 layers from each.
-
Using a ruler and a serrated knife, level your cakes, and layer the full portioned ones, creating 5 layers from each sized pan.
-
To add an extra pop of flavour, simple syrup your cakes with Orange Spice Simple Syrup! Remember to use a light hand as carrot cake is already quite moist!
-
Begin by piping a border of Italian Meringue Buttercream around your cake layer, before spreading on some Cream Cheese Frosting, and adding your next cake layer. Repeat this process with all of your layers in the 3 different sizes. Be careful not to dredge up crumbs as you go!
-
Crumb coat all of your tiers with Italian Meringue Buttercream, and chill for 20 minutes
-
Ice each tier with more Italian Meringue Buttercream, taking care to really smooth the sides with a bench scraper before chilling for another 20 minutes.
-
Mark each tier of cake where you would like the next one to sit using a ruler as a guide, and mark a circle around where your dowels will be placed. Because this is a buttercream cake, making your tiers offset will be easier in the stacking process.
-
Insert a dowel into your tier and mark where it meets the top of your cake. Use this as a guide to trim all of the dowels to the same length using a pair of gardening shears. Insert the dowels into your cake around where you have marked, and place the next tier on top, repeating the process.
-
If you happened to create any idents in your tiers while you were stacking your cake, take this time to fill in the gaps with more buttercream.
-
Fit a coupler to your piping bag so you can easily switch between round piping tips, and begin piping a random pattern of different sized buttercream dots on your tiers.
-
It’s time to begin adding flowers to your cake, and to do so first you need to trim the stems down, and clean off any leaves. Create little bunches of flowers and greenery, wrapping them in floral tape before moving on to the next step.
-
Trim 3” lengths of thick straws, and using a dowel to create a guide hole, insert straws into your cake where you would like to place your flowers.
-
Add your bunches of flowers into your straw tunnels until you’re happy with your cake!
Congratulations you did it!


