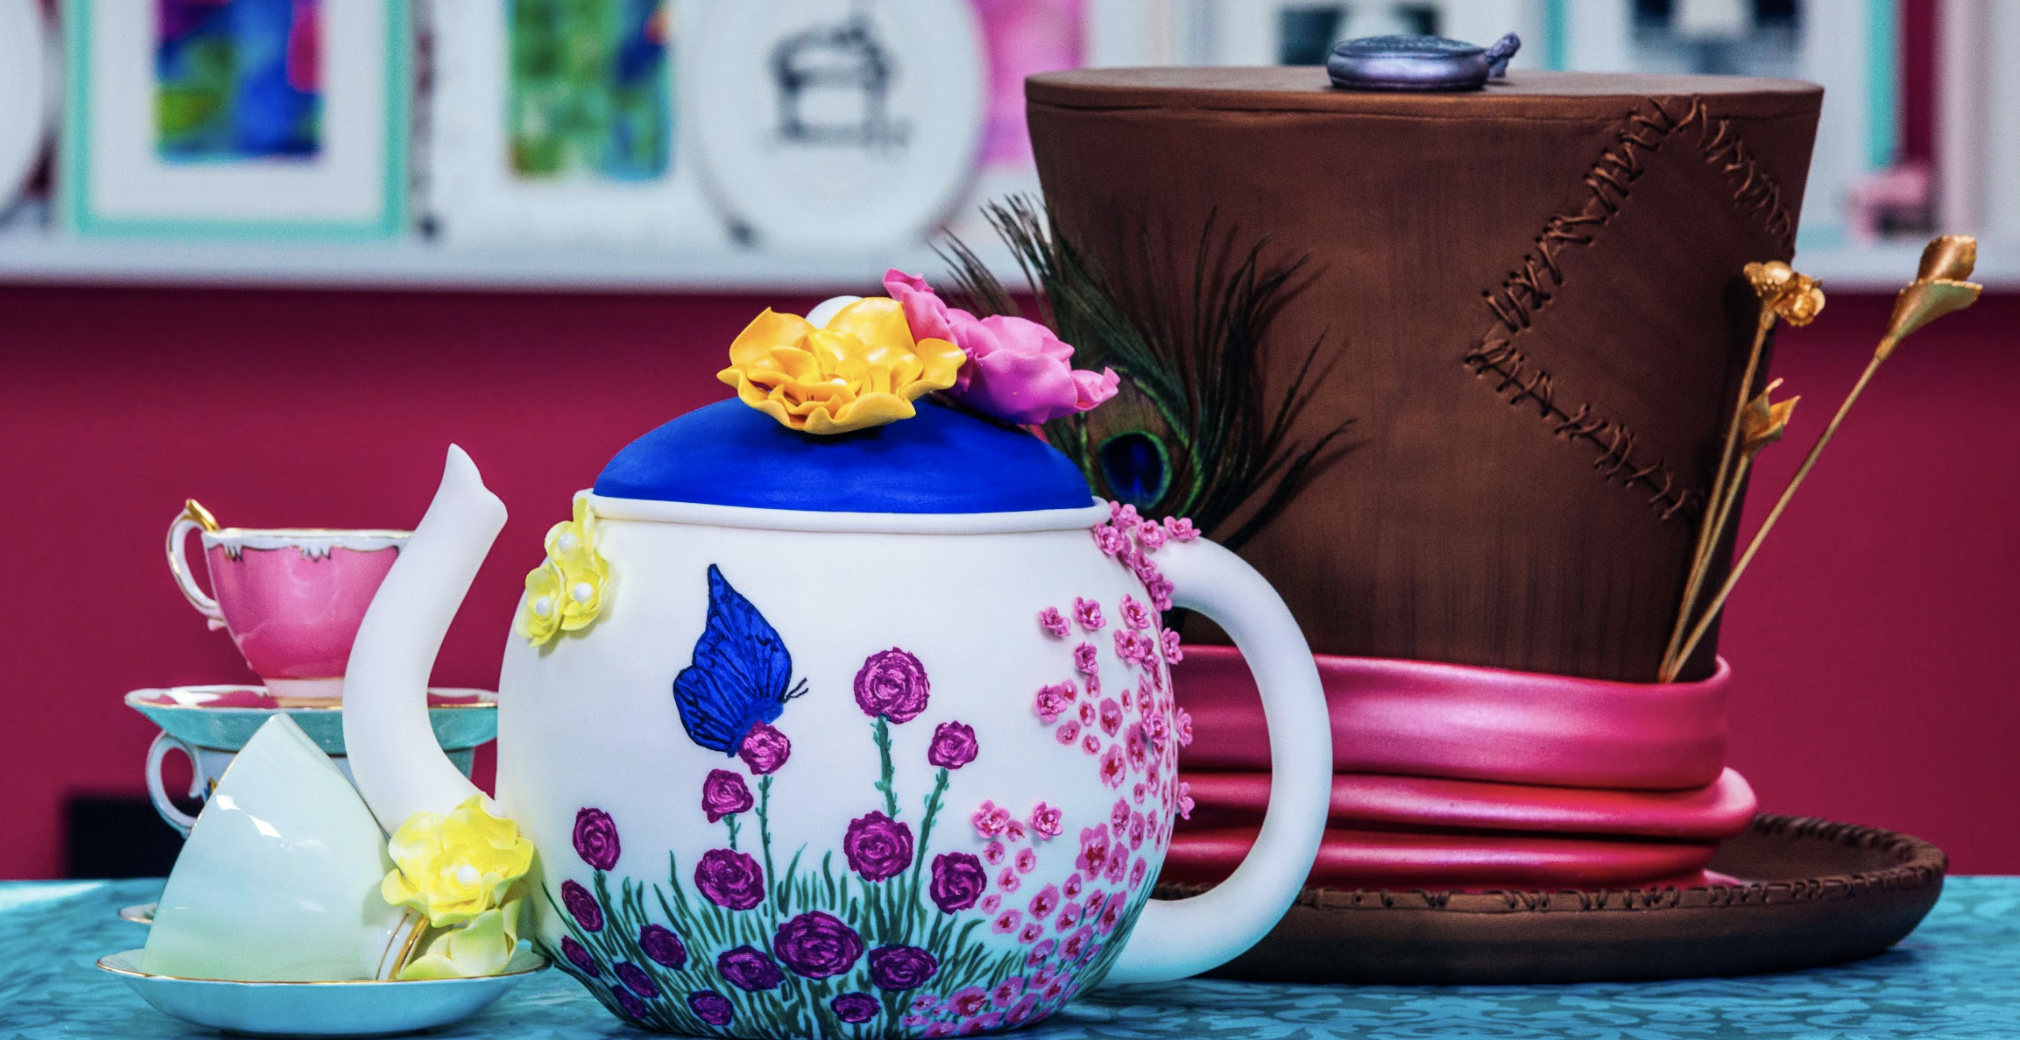
Fit For A Mad Hatter's Tea Party! Chocolate Cake With Sugar Flowers! I've always loved that scene from Alice In Wonderland when Alice comes across that table. It's so simultaneously chaotic and delicate! Now you all know that chaos isn't my style, so I gravitated towards the clean lines and sharp design of the teapots. I decided to go with a classic round teapot design made out of rich chocolate cake, Italian meringue buttercream, and fantastical sugar flowers. This cake is perfect for an Alice in Wonderland themed party, or Sunday Tea!

Ingredients
Cake
- 8lb portion of Yo's Ultimate Chocolate Cake
Icing
- Italian Meringue Buttercream
- Simple Syrup
Decorations
- 1 oz Melted Semi Sweet Chocolate
- 3 1/2 lbs White Fondant
- Icing Sugar
- 1 lb + 3oz Gumpaste
- Vegetable Shortening
- Candy Pearls
- Luster Dusts (yellow, pink, blue, green, red)
- Wilton White Food Coloring
- Food Grade Alcohol
- Royal Icing
Read It!
-
Prepare Yos Ultimate Chocolate Cake batter and divide it between two prepared bowls. Bake the cakes at 350 for 1 hour and 30 minutes or until a toothpick inserted in the centre comes out clean. Let cool completely in their bowls.
-
Level the two bowl cakes in their bowls. Remove from bowls.
-
Prepare the simple syrup and soak both sides of the bowl cakes.
-
Secure the 2 1/2 round cake board to the bottom of one of the bowl cakes with the semi sweet chocolate. Allow the chocolate to set and then turn the cake over.
-
Prepare the Italian Meringue Buttercream, and spread a layer on the flat side of the cake. Before placing the second bowl cake on top, cut off the top of the dome. Set it aside on a 5 round cake board.
-
Add the second cake to finish off your teapot. Crumb coat both the teapot and the lid cakes and chill for 30 minutes.
-
Ice the cakes and chill again.
-
Cover the teapot cake and the lid cake with white fondant.
-
Smooth the fondant with your palms all the way around the teapot, then flip it over and trim the excess from the top.
-
Knead your gum paste. Begin to sculpt a handle by rolling a thick tube of gumpaste. Insert a floral wire all the way up the centre of the tube. Bend the tube into a handle shape.
-
Repeat the gumpaste process to make the spout, except roll the tube to be thicker at one end. Shape the other end of the tube to look like a spout. Use a ball tool to make an indent down the centre of the spout. Insert a floral wire into the spout starting from the bottom end up. Push the wire all the way to the top.
-
Roll a ball of gumpaste to make the ball handle for the teapot. Set the handle, spout, and ball of gum paste aside to dry. The longer they dry the better off they will be.
-
Use a set of rose cutters and cut out different sizes of thinly rolled gumpaste to make flowers.
-
Use a sculpting tool and shaping foam to ruffle the petal. Stick the daisies together with a little water brushed between the layers to form one flower. Let dry.
-
Once dry, paint them with lustre dust and add a candy pearl to the centre.
-
Use luster dusts in colours of your choice and paint a design onto the pot.
-
Use a plunger cutter set to make 3D shapes for the pot, like cherry blossoms. Paint them as well.
-
Paint the lid of the teapot cake. Secure the ball handle to the top using a toothpick.
-
Create a rim around the lid by pushing some white fondant through my clay extruder fitted with a round face plate. Secure with a little water.
-
Add your handle and spout at opposite ends of the pot. Press them into the cake as far as they can go.
-
Prepare royal icing and pipe some at the base where any gumpaste meets fondant. Use a damp paint brush to smooth it out, and hide any seams.
Congratulations you did it!


