Lemon Mini Donuts


Cloud , Collection--cupcake-recipes , Collection--easy , Collection--other-recipes , Donut , Donut cake , Donut day cake , Donuts , Dough nut , Doughnut cake , Doughnuts , Easter donuts , Easy donuts , Jessica , Luxe , Luxe and the lady , Luxeandthelady , Spring , Spring baking , Summer , Sun , Sunny , Turbo-legacy
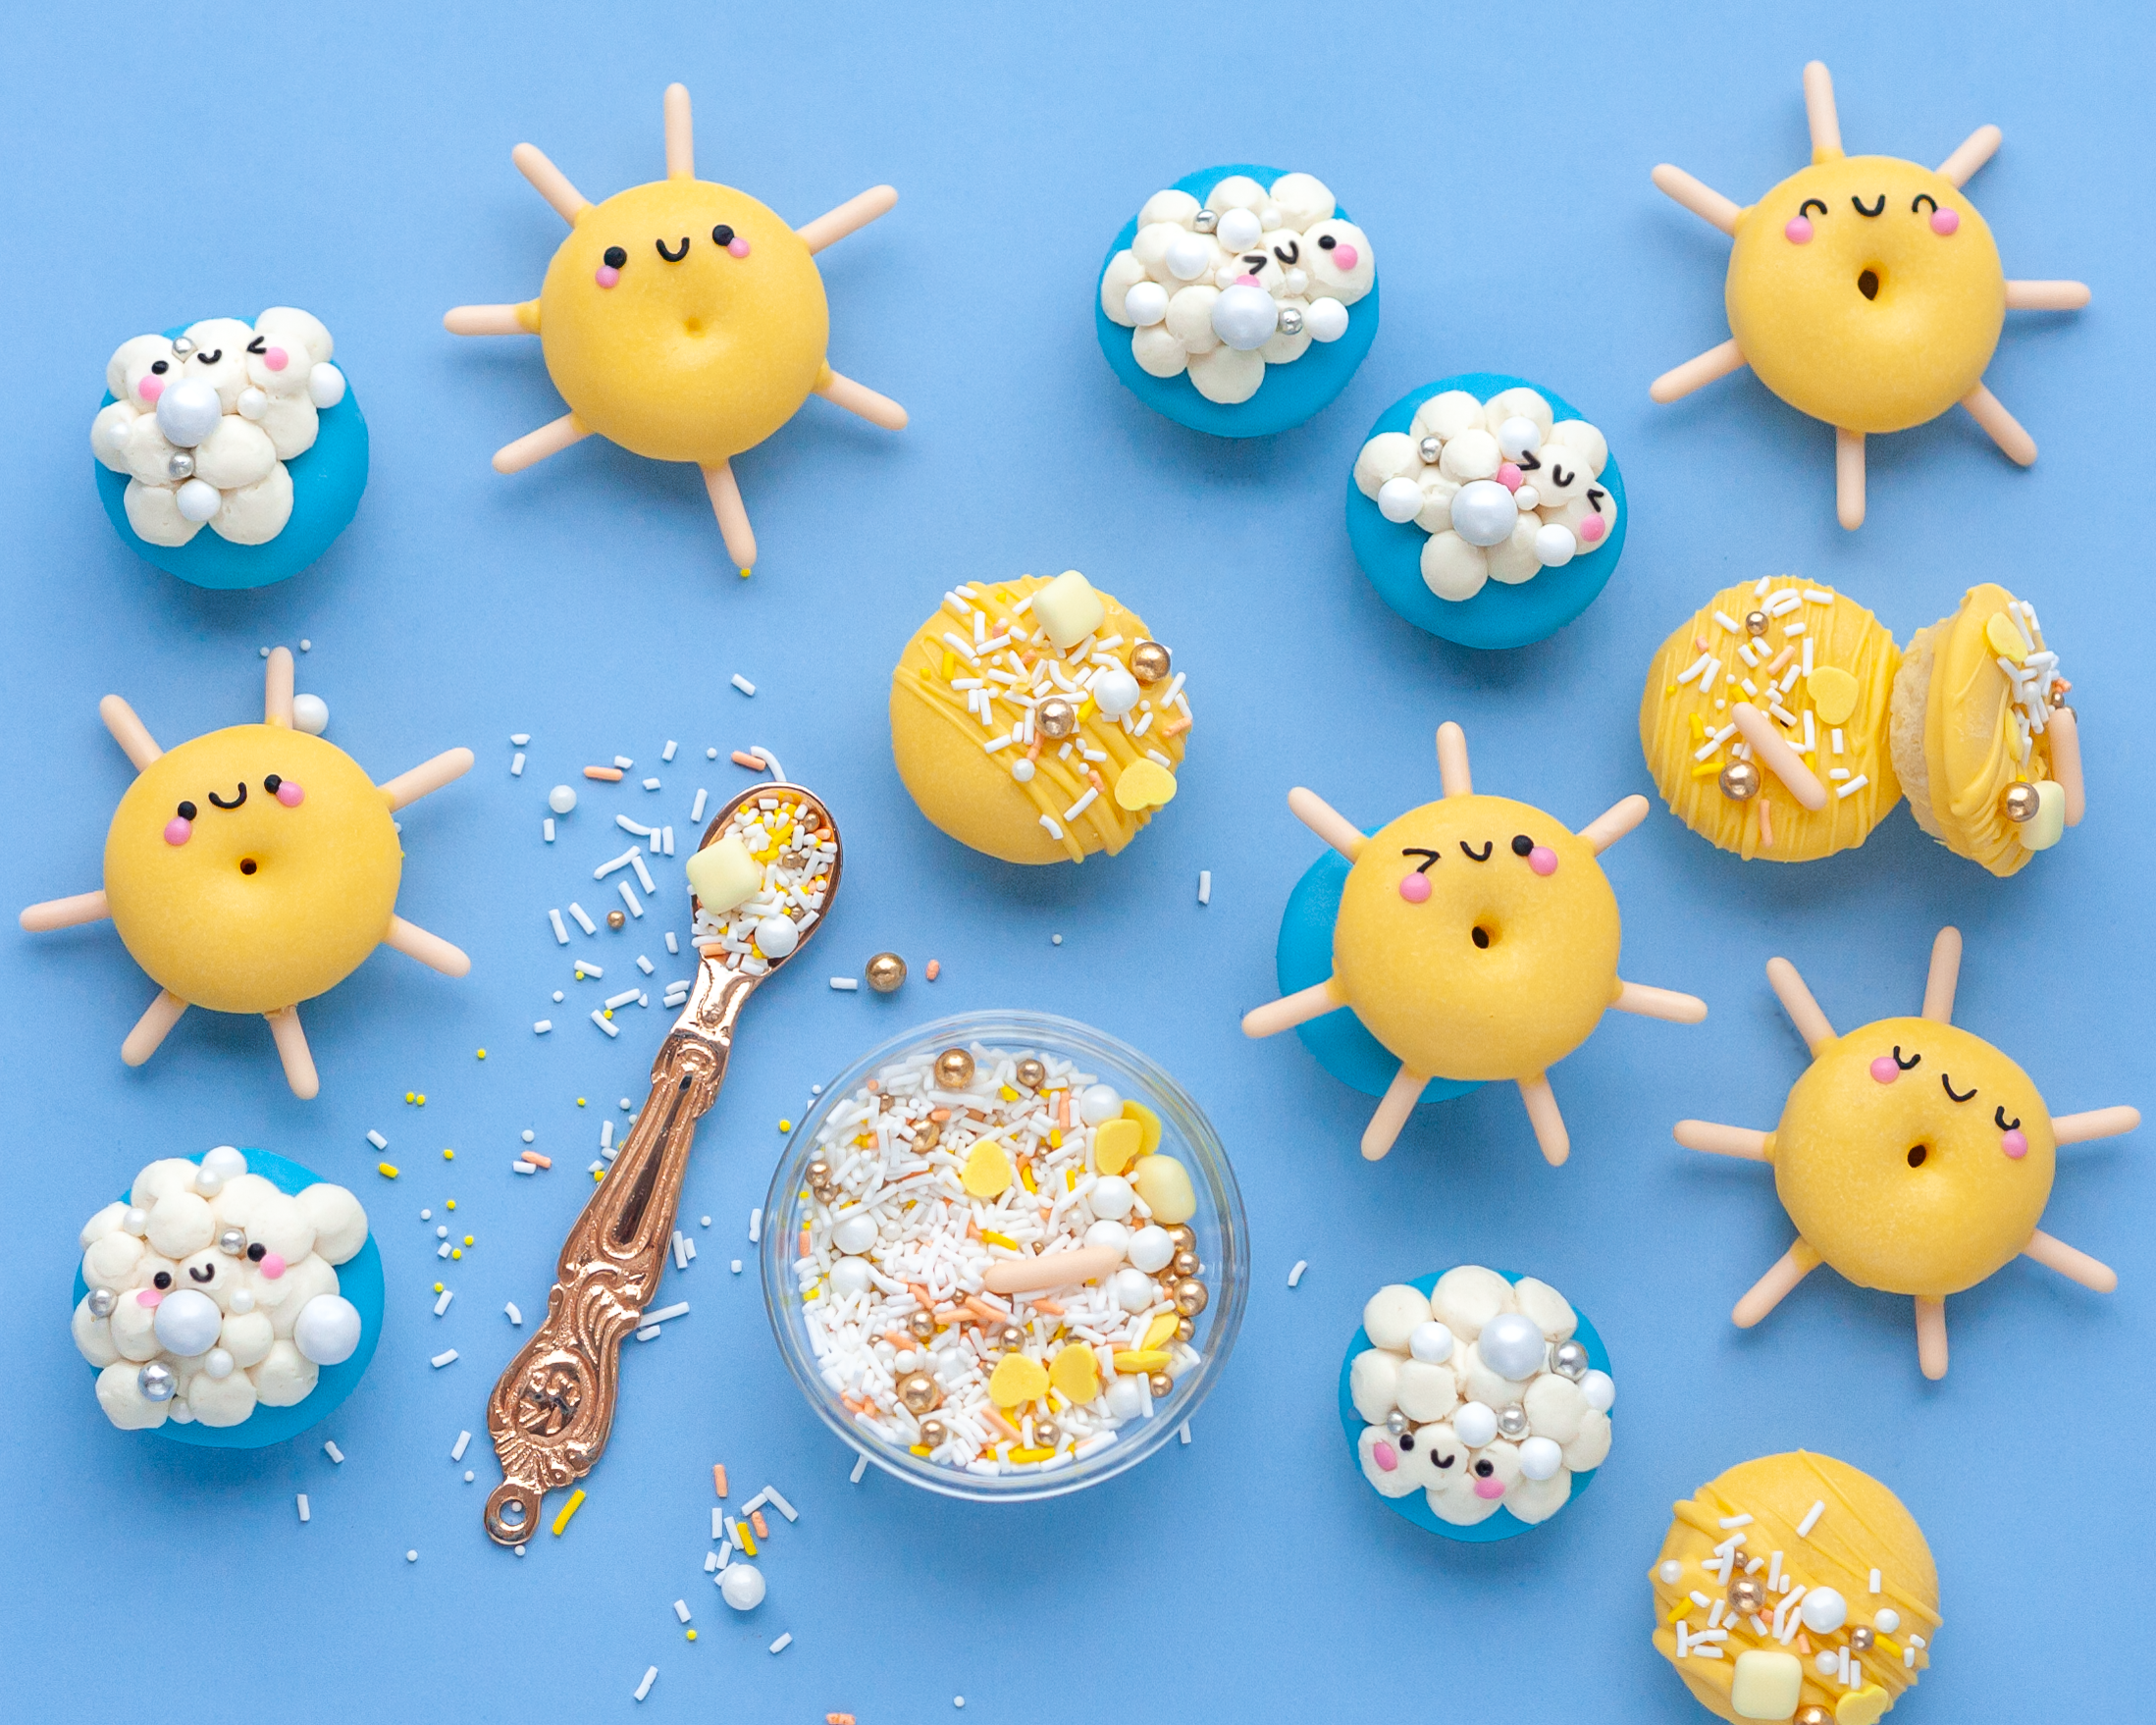
Brighten up your day with these donuts! This lemon donuts recipe by Jessica from @luxeandthelady is perfect for any spring day - sunny OR cloudy! Lemon donuts, vanilla buttercream, and exclusive How To Cake It sprinkles - these donuts are sure to bring a smile to everyone's face!


Ingredients
Lemon Mini Donuts:
- 1 cup all-purpose flour
- 6 tablespoons granulated sugar
- 1 teaspoon baking powder
- ¼ teaspoon salt
- ¼ cup milk
- 1 large egg
- 2 tablespoons unsalted butter, melted
- 6 tablespoons plain, unsweetened Greek yogurt (I used whole milk)
- 1 tablespoon lemon zest (from 1 medium lemon)
- 1 ½ -2 tablespoons lemon juice (from ½ a medium lemon)
- ½ teaspoon lemon extract
Vanilla Buttercream
- ½ cup unsalted butter (1 stick), room temp.
- 1 ½ cups powdered sugar, sifted
- 1 teaspoon vanilla extract
- 1-2 tablespoons heavy cream
- 1/8 teaspoon salt
- White icing color* (optional, to brighten the buttercream)
Decorations
- “Coming Up Daisies” & “It’s Raining Sprinkles” sprinkle mixes
- Yellow & Blue candy melt wafers
- Pink candy melt wafers or decorating icing* (optional, to add cheeks)
- Black royal icing fitted with small round piping tip
- Vanilla Buttercream
Read It!
-
Preheat the oven to 425°F. Generously coat your mini donut pan with non-stick baking spray and set aside.
-
In a medium size mixing bowl, whisk together the flour, sugar, baking powder, and salt.
-
In a small mixing bowl, whisk together the milk, egg, butter, yogurt, lemon zest, lemon juice, and lemon extract until smooth.
-
Add the wet ingredients to the dry and stir just until combined (being careful not to over mix).
-
Transfer the batter to either a large zip-top bag or a piping bag. Cut a corner off of the bag and pipe the batter into the donut pan, filling each cavity about ¾ full. Gently tap the pan on the countertop to release any air bubbles.
-
Bake the donuts for 4-6 minutes, or until a toothpick inserted near the center comes out clean.
-
Allow the donuts to cool for 5 minutes in the pan before transferring them to a cooling rack to cool completely.
-
Once the donuts have cooled you can start decorating! Place the yellow and blue candy wafers into 2 separate microwave-safe bowls. Heat one at a time, in 30 second intervals, (making sure to stir the melting wafers in between each increment), until smooth and completely melted. Tip: you can add a little bit of paramount crystals or vegetable oil (1 teaspoon at a time) to the melted candy wafers to help thin them and make the coating smoother.
-
Divide the donuts in half, and dip the tops of one half in melted yellow wafers, and the other half into the melted blue wafers. Allow the excess to drip off, then turn them right side up and give them a gentle tap on the countertop to smooth the coating. Once the candy coating has set, dip each donut again for a super smooth coating.
-
Time for the fluffy buttercream to make our clouds! In the bowl of an electric mixer use the paddle attachment to beat the butter for about 2-3 minutes on medium until light and creamy. Scrape down the sides and bottom of the mixing bowl.
-
With the mixer on low, slowly add the powdered sugar ½ cup at a time. Turn the mixer back up to medium and beat until fluffy, about 4 minutes. Scrape the mixing bowl again.
-
Add the vanilla extract and cream and continue to beat until incorporated. I like to start with 1 tablespoon of the cream and check the consistency before adding more. If you’d like to brighten the color, you can also add a bit of the white icing color now.
-
Now we can put everything all together and decorate our donuts! Flip the yellow mini donuts over (so that the dipped part is facing your countertop) and use more of the melted yellow wafers to add the rod sprinkles from the “Coming Up Daisies” mix all around the edge of the donut.
-
Prepare your piping bag with the coupler and medium round piping tip. Hold your bag perpendicular to the top of a blue donut, then squeeze and release dots to create a cloud pattern. I like to go back over the top and add more dots in between for a fluffier look. Use the different sizes of round sprinkles in the “It’s Raining Sprinkles” mix to add even more dimension and fill in-between dots.
-
Transfer the frosted donuts to the refrigerator for 30 minutes so that the frosting can firm up. While waiting you can add the faces to the suns.
-
Use the black decorating icing to pipe faces onto the top of each sun donut. If you’d like, you can use a toothpick dipped into melted pink candy wafers to add cheeks.
-
Once your clouds have chilled press down all the little dots of frosting to smooth (it helps to dip a clean finger into a little warm water, dab on a paper towel and then smooth the buttercream). You can add even more sprinkles now and sprinkle “rain” if you’d like.
-
Add faces to the clouds just like you did with the suns and enjoy!
-
To store your donuts: Donuts decorated with buttercream are best stored in the refrigerator. Undecorated donuts or donuts without buttercream can be kept at room temperature in an airtight container.
Congratulations you did it!
