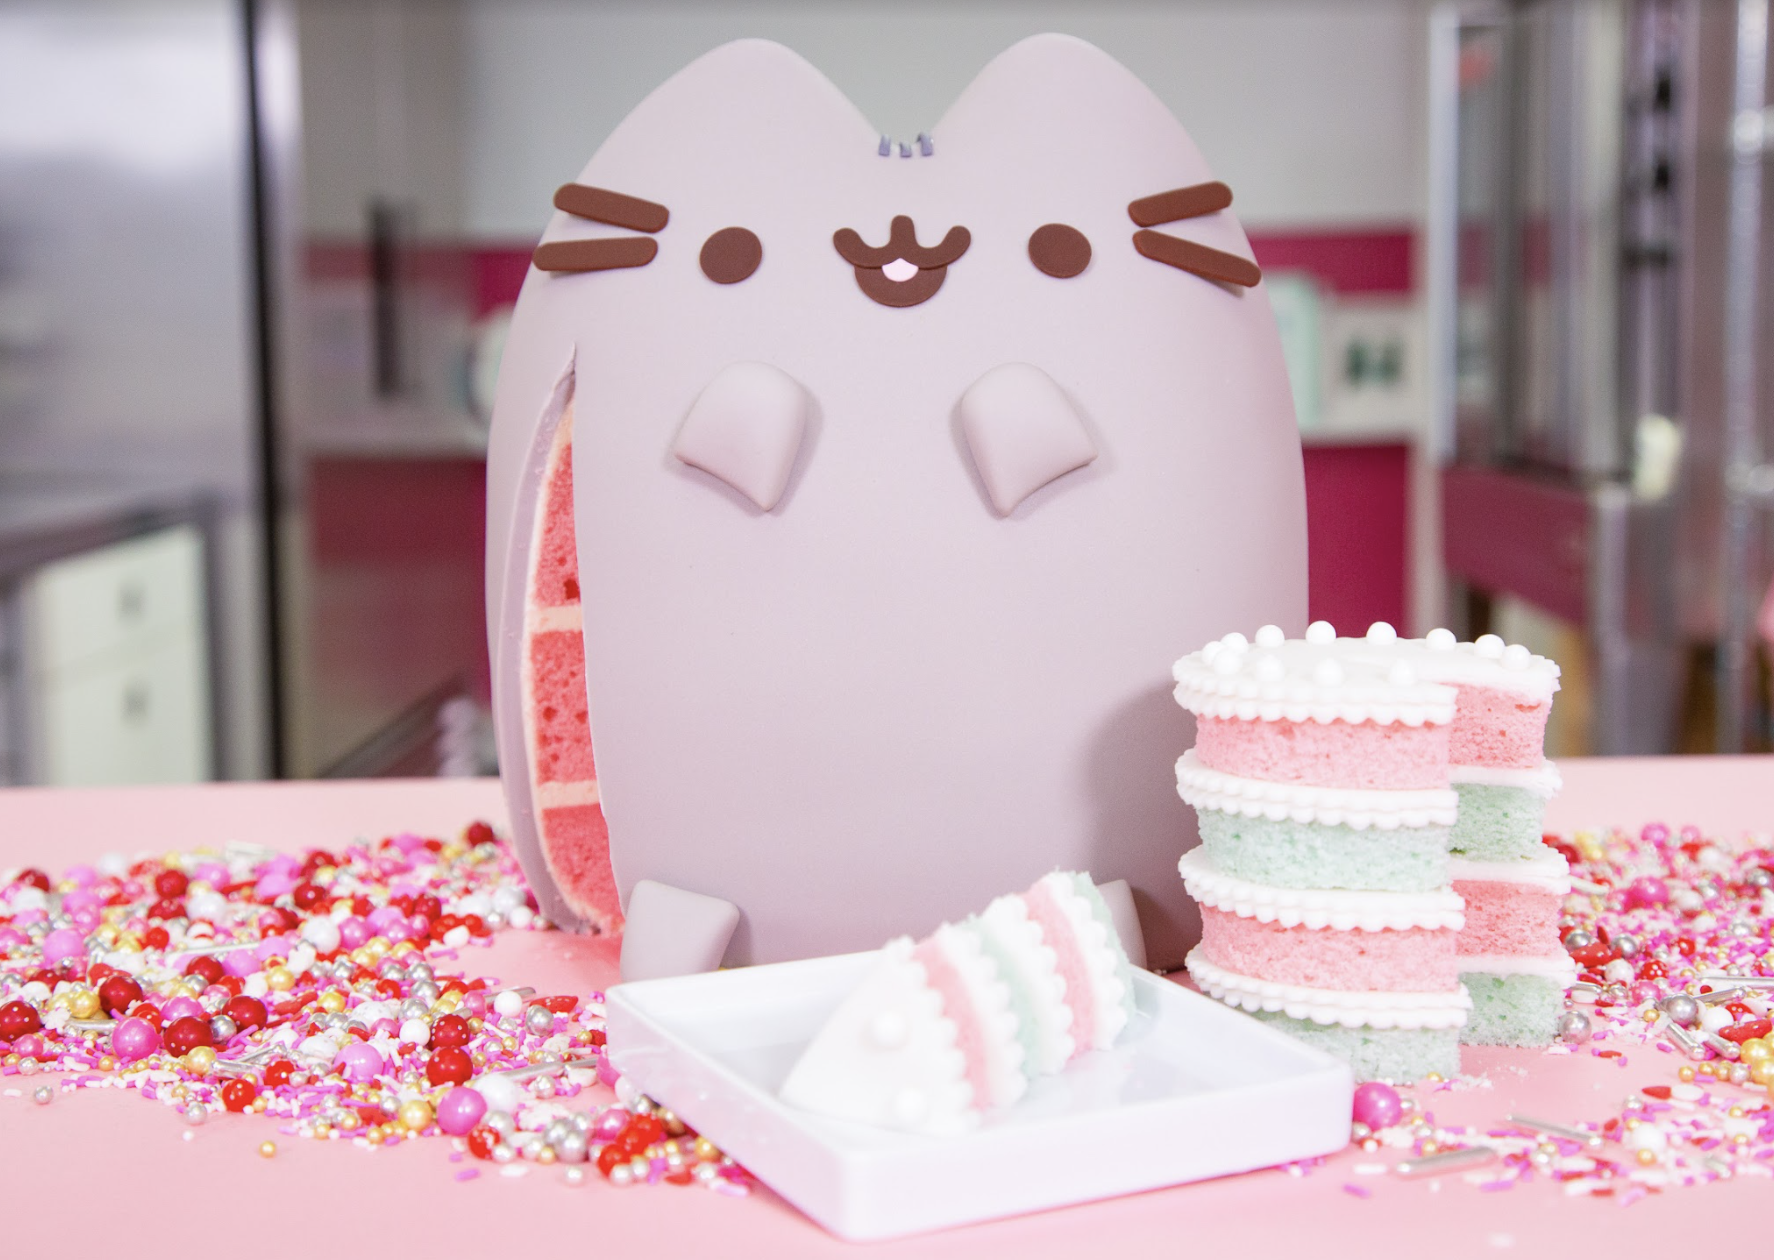
This vanilla cake is PURRfect! You YoYo’s are amazing at suggesting cake ideas! I find a lot of inspiration for new sweets treats looking through the comments that get left on my posts, and they’ve influenced a lot of my cake creations over the years. Lately, a lot of you have been requesting a Pusheen cake! I’ll admit, I had no idea what that was at first, but a quick google search and I was hooked!
This sweet cat started off as 15.5lbs of my Ultimate Vanilla Cake dyed a soft pink hue. Stacked together with Italian Meringue buttercream, these cakes were a pretty easy shape to carve so thank you Pusheen for that! Covered in Pusheens signature grey color, and topped with her cute features, I also made a mini cake for my new friend to enjoy!

Ingredients
Cake
- 15.5lbs Yo’s Ultimate Vanilla Cake
- Rose Gel Food Coloring
Icing
- Yo’s Simple Syrup
- Yo’s Famous Italian Meringue Buttercream
Decorations
- 3.5lbs Grey Fondant
- 4oz White Fondant
- 4oz Dark Grey Fondant
- 1oz Brown Gumpaste
- CMC
- Clear Piping Gel
- Clear Food Grade Alcohol
Tools
- 2 x 9x13" Cake Pans
- 7x11" Cake Pan
- Simple Syrup Bottle
- Small Straight & Offset Spatula
- Large Straight & Offset Spatula
- Small Paring Knife
- Large Serrated Knife
- Circle Cutters
- Ruler
- Scalloped Cutters
- Strip Cutter
- #803 & #809 Piping Tip
- Letter "l" Cutter
Read It!
-
Dye your cake batter a soft pink hue, and divide into your pans and bake at 350 degrees as follows:
2 9x13” pans → 6lbs batter → 1 hour 25 minutes
7x11” pan → 3.5lbs batter → 1 hour 15 minutes
Let your cakes cool completely in their pans before removing
-
Use a ruler and serrated knife to level your cakes, and remove the caramelization from the bottom.
-
Cut your 2 9x13” rectangular cakes in half, creating to cakes from each.
-
Shower your cakes with simple syrup, and allow a few minutes to absorb before stacking.
-
Fill and stack your cakes with Italian Meringue buttercream, with your 7x11” cake on the bottom, and 4 small rectangles on top. Chill your cake before carving.
-
Use an oval template to help you carve Pusheen’s body, and taper it up towards the top, carving in ears as well.
-
Crumb coat your cake with Italian Meringue Buttercream, and chill until firm to the touch before icing with more buttercream and chilling once more.
-
Thinly roll out two sheets of grey fondant, large enough to cover both sides of your cake. Smooth onto your cake, cutting a clean seam around the edge.
-
Mix the same fondant you used to cover Pusheen with clear food grade alcohol to make a paste. Use this paste to fill in the seam created by covering your cake.
-
Add CMC to your light grey fondant, and roll into cords to create Pusheen’s arms, legs, and tail, using templates to help you. Attach to your cake with clear piping gel.
-
Thinly roll our your brown, pink, and dark grey fondant. Use a template to cut out Pusheens eyes, mouth, whiskers, and stripes. You can also use your l cutter and circle cutters to get those sharp edges! Use your template once more to guide you in attaching these pieces with clear piping gel.
-
Make Pusheen her own little cake by cutting circles of cake, and stacking with scalloped edge fondant pieces and clear piping gel. Top with dragees.
Congratulations you did it!


