Edible Face Masks


Chocolate , Chocolate mask , Coronavirus , Covid , Covid19 , Face mask , Face masks , Modeling chocolate , Quarantine , Stay home
My sweet rendition of DIY face masks! Amongst this quarantine, it seems like everyone and their mothers is making face masks and it's been so awesome seeing everyone's creativity! So I thought I'd hop on the bandwagon but sweeten it up a little. I made three face masks out of chocolate and though they may not be wearable... they're totally edible!
Hope you're all staying safe and healthy and I can't wait to see your chocolate masks! 💗


Ingredients
Chocolate Masks
- White gumpaste
- White modelling chocolate
- Dark modelling chocolate
- Sprinkles
- Gold lustre dust
- Silver sprinkles
- Clear food grade alcohol

Tools
- Cardboard (for the mold)
- Paper (for the template)
- Food coloring markers
- Transfer paper


Read It!
-
Cut out the shape of a mask from paper then use the same template to create a mask mold out of folded cardboard. Wrap the cardboard in parchment paper.
-
Roll some white gumpaste out really thin - use a pin to release any air bubbles. Place your cardboard mold down then cover it with the gumpaste sheet and carefully mold the gumpaste to the shape. Trim away any excess then remove it from the cardboard. Clean the rough edges and trim away any excess then let it dry.
NOTE: Make sure you act fast as gumpaste dries really quickly.
-
Repeat the same steps but this time, before you mold it to the template, use an overstitch tool to add stitch detailing along the edges then let it dry over the cardboard mold.
-
Kneat out some white modelling chocolate into a small rectangle then do the same with some dark modeling chocolate. Place the white modeling chocolate onto top of the dark and trim away excess so that they are the same size. While they are still stacked, use a sharp knife to trim them into strips. Line them up on their sides so that you see the stripes then roll it out with a fondant rolling pin. Use the flat mask template to cut the shape of your mask out then place it over the cardboard mold and let it dry.
-
Ice your first mask with royal icing then go crazy with the sprinkles!
TIP: Royal icing dries fast so do half of the mask at a time.
-
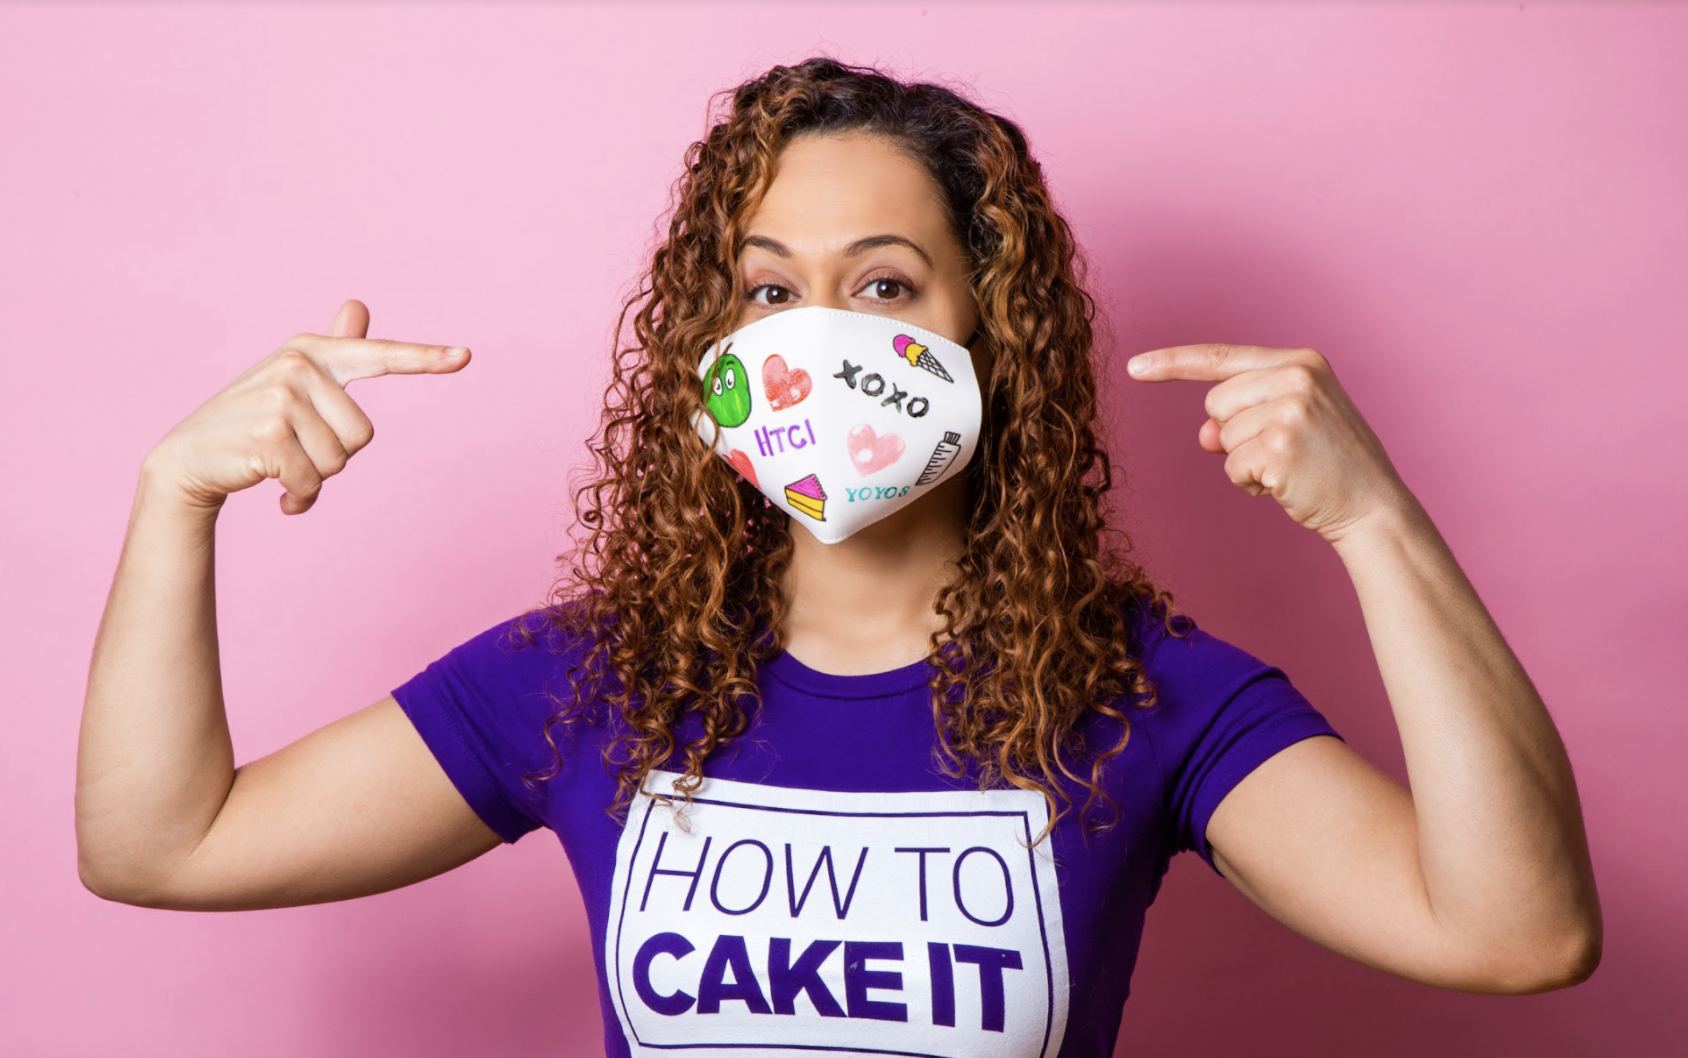
For this mask, I was inspired by the How To Cake It letterhead so I took some transfer paper and carefully traced out Walter, Sir Squeeze, and a Slice of Cake. I flipped the transfer paper and placed it over the mask then colored over with pencil so that it transferred over slightly. Next, take various food coloring markers to colour the shapes in. Feel free to get as creative as you want with this or draw whatever you feel like onto your mask.
TIP: If you’re working over top another drawing, cover it with paper towel so you don’t smudge it.
-
For my modelling chocolate mask, I mixed a bit of gold lustre dust with clear food grade alcohol then painted on stripes. To complete it, I took the paint brush and splattered the mask with the gold paint then added on some silver speckles.
Congratulations you did it!
