Winter Hat Cake


Baking , Buttercream , Cake , Cake batters , Cake recipes , Chocolate , Clay extruder , Collection--novelty-cake-recipes , Fondant , Food , Foundant , Fun , Grey fondant , Holiday , Icing , Italian meringue buttercream , Novelty cakes , Orange fondant , Recipes-export , Seasonal , Simple syrup , Simple syrup bottle , Tuque , Tuque cake , Vanilla , Vanilla cake
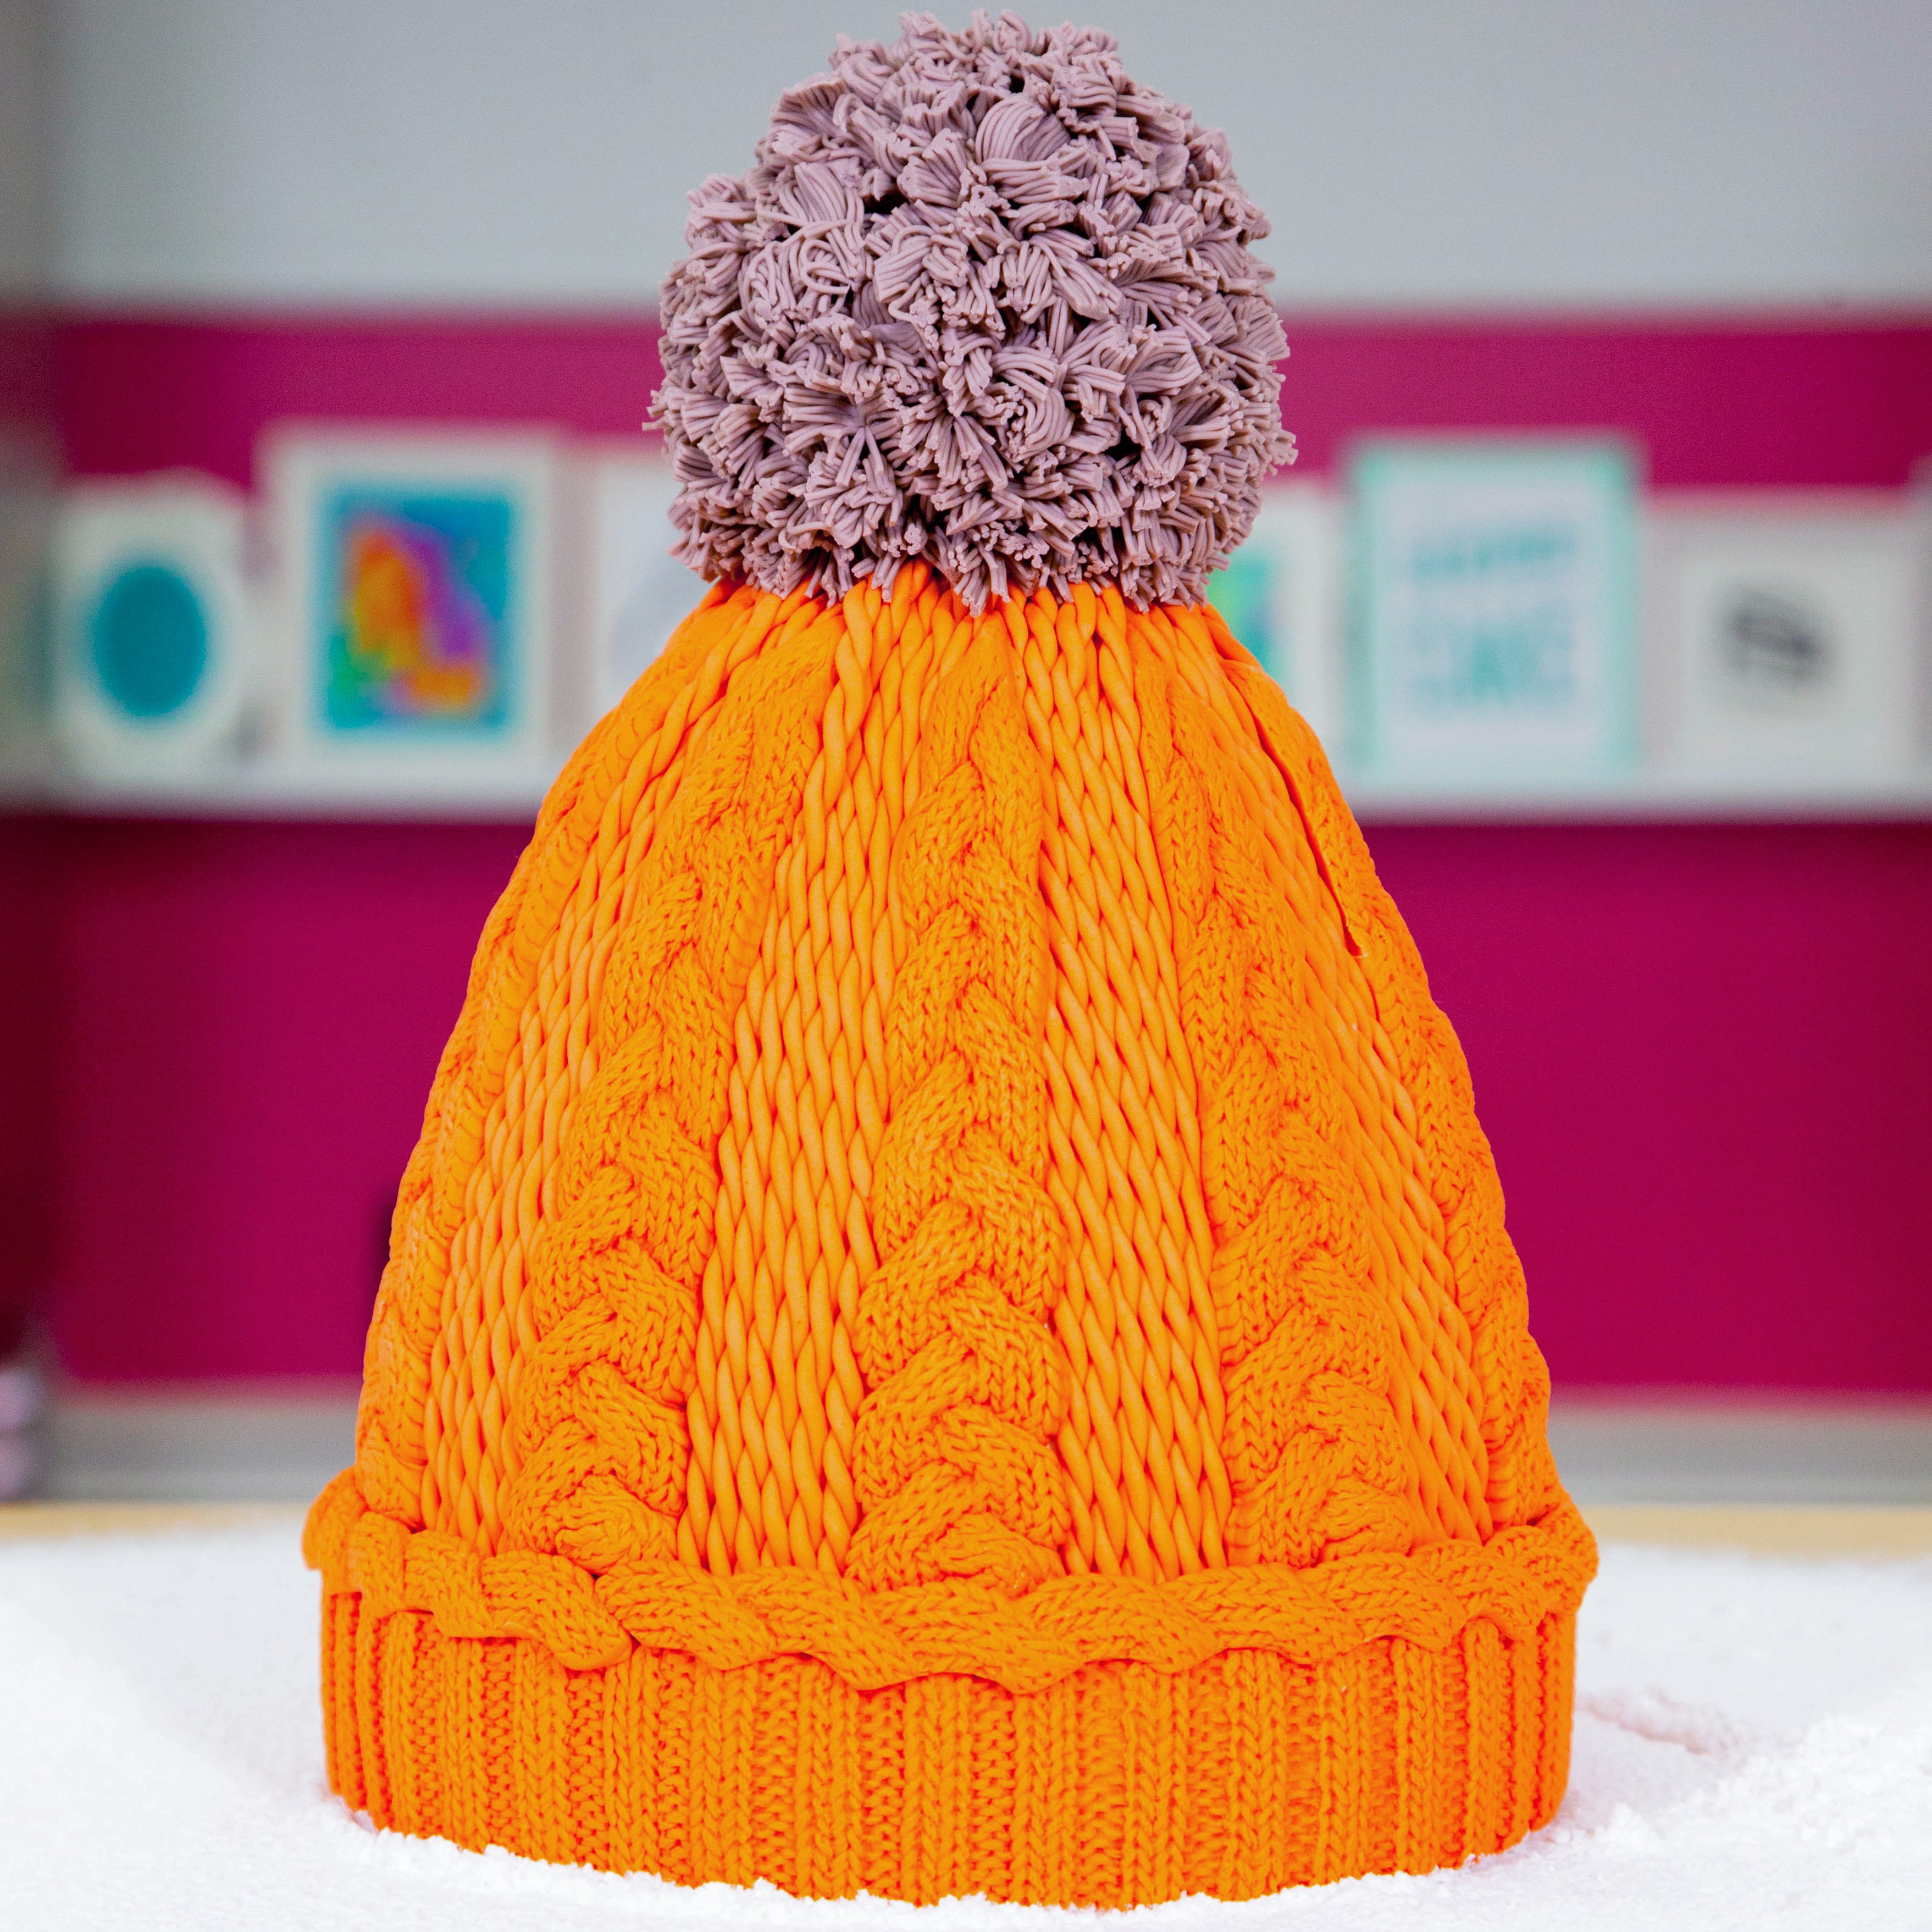
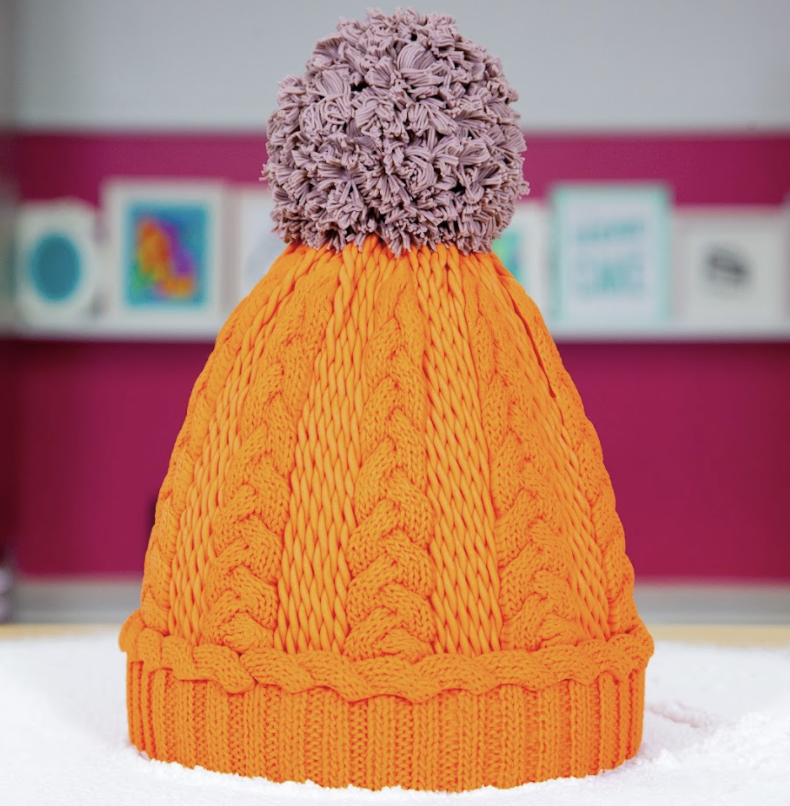
Bundling Up Has Never Been So Sweet! Phewf! It’s cold outside, but a good ol’ winter hat (also known in Canada as a “toque”) will keep you nice & COZY. In Canada, a knitted hat is a winter weather ESSENTIAL; however, I’ve been avoiding the cold by staying indoors and CAKING this orange and grey hat instead.
To make this Winter Hat Cake, I baked 6 lbs of my Ultimate Chocolate Cake batter, and 5 lbs of my Ultimate Vanilla Cake batter with pink food colouring. I iced the cake with Italian Buttercream, draped it in sweet knitted fondant details and topped it all off with a pretty pom pom!


Ingredients
Cake
- Yo’s Ultimate Vanilla Cake
- Yo’s Ultimate Chocolate Cake
- Pink Food Coloring
Icing
- Simple Syrup
- Italian Meringue Buttercream
Decorations
- Orange Fondant
- Grey Fondant
- Clear Piping Gel
- Royal Icing
- Yo’s Sculpting Rice Krispies Mixture

Tools
- 4 x 7” Round Cake Pans
- 1 x 6” Round Cake pan
- Simple Syrup Squeeze Bottle
- Circle Cutter Set
- Funnel
- Serrated Knife
- Fondant Rolling Pin
- Clay Extruder
- Marvellous Molds Braided Knit Mold
- Marvellous Molds Ribbed Knit Mold
- Fine Sculpting tool Brushes
- Mixing Bowl
- Fabric Measuring Tape
- Lollipop Stick


Read It!
-
Bake two 2.5lb Ultimate Chocolate Cakes in 7” round pans, one 1lb Ultimate Chocolate Cake in a 6” round pan and two 2.5 lbs Ultimate Vanilla Cakes with Pink food colouring in 7” pans.
-
Once the cakes are cooled, level them and remove the caramelization from the pink cakes. Then cut all the cakes into 2 layers.
Note: Save the cake humps because you may need them when creating the shape of the hat later.
-
Drizzle simple syrup on all the cake layers with Sir Squeeze A-lot
-
Fill and stack the cake layer with Italian Meringue Buttercream alternating between chocolate and pink vanilla cake layers. Chill the cake until the buttercream has become firm.
-
Once the cakes has been chilled, it’s time to carve the cake. Start by marking an X at the top. Use a serrated knife to carve the cake in a dome shape that is more narrow at the top. Leave a 2 inch gap at the bottom uncarved to create the rim of the hat.
Note: This is a great cake for beginners to practice carving their carving skills. To see how I did this step, please see the video here!
-
Crumb coat with Italian Meringue Buttercream and chill the cake. Then apply another layer of Italian Meringue Buttercream and chill the cake once again.
-
Use a fabric measuring tape to measure the circumference at the bottom of the cake. Mark 20 equal sections around the cake. Use those markings, the fabric measuring tape and a knife to draw 20 lines in the icing from the bottom of the cake to the peak at the top.
Note: To see how I did this step, please see the video here!
-
Use a clay extruder on the thickest setting to create cords with orange fondant. Take the cords and line them up in pairs. Twist the cords onto each other.
Note: Do not extrude all of the fondant cords for this cake at once. Decorating this cake takes a while and you risk having the fondant dry out if you extrude everything at the same time. It’s better to create your cords in small batches.
-
Add the twisted cords to the hat by filling every other section that was marked in the buttercream. Cut the excess fondant from the top and bottom of the hat.
Note: Make sure to line the cords right up against each other in their section. The cords may overlap at the top of the hat since the sections are more narrow at the peak than at at the base of the cake. To see how I did this step, please see the video here!
-
Create braids by using a Marvellous Molds Braided Knit Mold. To start, dust the mold with corn starch so that the fondant does not stick to the inside of the mold. Press a thick cord of orange fondant into the mould with a small fondant rolling pin.
-
Add the Marvellous Molds knitted braids to the cake in between the existing sections with twisted cords of fondant.
Note: These braids should be short enough to leave a 2 inch rim uncovered at the bottom of the cake.
-
Cover the sections at the bottom of the cake that still have the buttercream exposed with rectangular pieces of orange fondant.
-
Use a Marvellous Molds Ribbed Fondant Mold to create a border for the bottom of the hat. Attach the ribbed fondant pieces to cover the circumference of the base of the cake using clear piping gel to secure them. Use a fine sculpting tool to press the seams together where the pieces of fondant meet.
Note: Make sure to use each piece of ribbed fondant right side up so the pattern matches all around the cake. To see how I did this step, please see the video here!
-
Fill the Marvellous Molds braided mold with orange fondant again. This time cut the braid vertically down the centre following the curves of the braid. Use clear piping gel to attach the half braids to the top of the hat’s border.
Note: To see how I did this step, please see the video here!
-
Make a small batch of Yo’s Sculpting Rice Krispies Mixture. Create a small ball out of the mixture. Brush on clear piping gel to cover the entire ball. Then cover the ball with a layer of grey fondant.
Note: Make sure to create a pilot hole in the bottom of the Rice Krispies ball before brushing on the clear piping gel. The whole will mark where the dowel will go later.
-
Cut the excess fondant at the top of the hat to create a flat surface for the Pompom. Insert a lollipop stick down the centre of the cake leaving a section exposed. Spread royal icing on the bottom of the Pompon and then attach it to the hat by inserting the lollipop stick in the pilot hole that was previously marked.
Note: To see how I did this step, please see the video here!
-
Use the clay extruder on the smallest setting to create thin cords. Chop the cords into short pieces and glue the short bundles to the Pompom with clear piping gel. Repeat to cover the entire surface of the Pompom.
Note: To see how I did this step, please see the video here!
Congratulations you did it!
