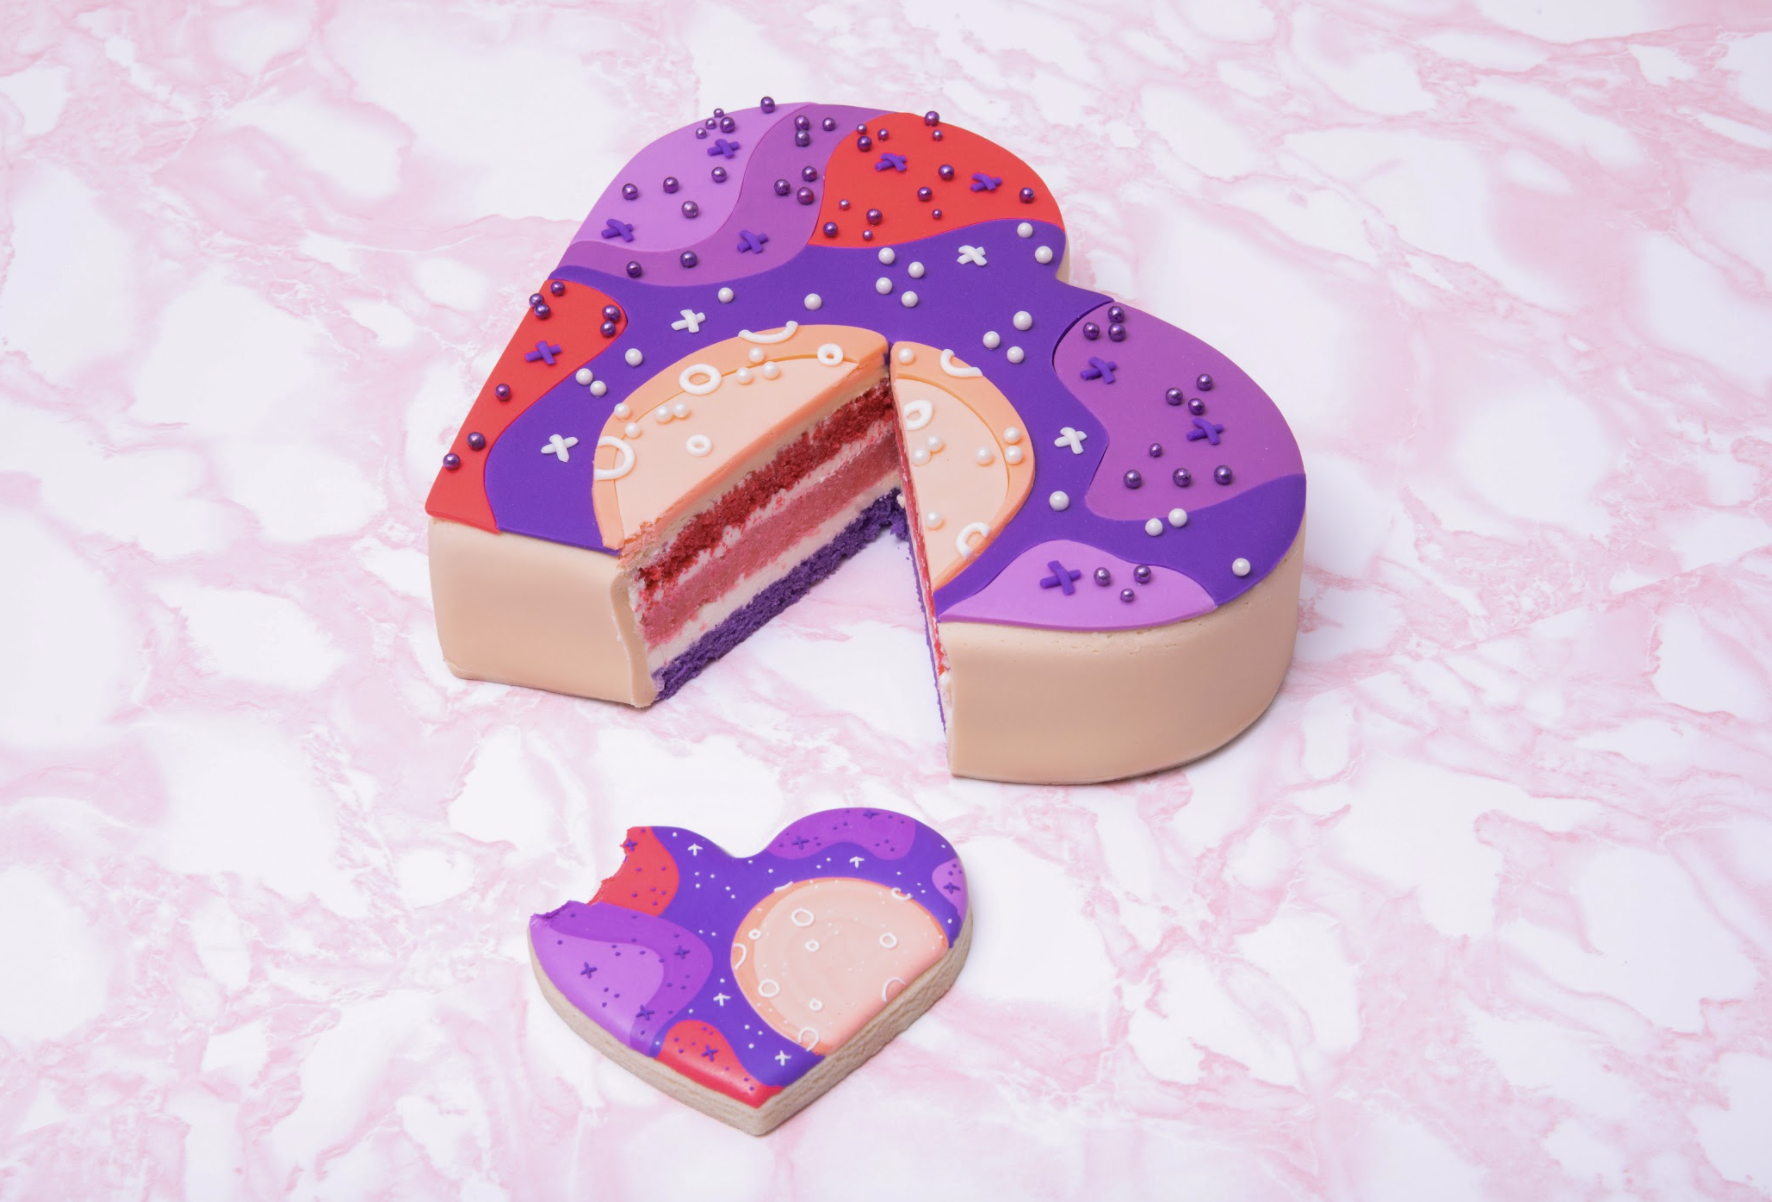
Sugar Cookie Cakes


If a cookie is made of cake... Is it still considered a cookie? I couldn't get enough of #downtowndoughto 's Galactic Love & Love Bites cookies sooo I made them in GIANT cake form (how else would I show my love?!). Hint hint, these would make the perfect Valentine's Day gift for your sweetheart ;)
To make these Giant Sugar Cookie Cakes, I started off with my Ultimate Vanilla Cake which I dyed bright romantic colors stacked with rich Italian Meringue Buttercream. I then used fondant to cut out all the details to make these intricate cookie cakes come alive.


Ingredients
Cake
- 4 batches of Yo’s Ultimate Vanilla Cake
- Gel Food Coloring - Pink, Red, Purple
Icing
- 1 batch of Yo’s Simple Syrup
- 1 batch of Yo’s Famous Italian Meringue Buttercream
Decorations
- 4 lbs Tan Fondant
- White and Purple Dragees
For “Love Bites”:
- 4 oz White Fondant
- 8 oz Red Fondant
- 4 oz Hot Pink Fondant
For “Cosmic”:
- 8 oz Purple Fondant
- 2 oz Mauve Fondant
- 2 oz Violet Fondant
- 2 oz Peach Fondant
For “Ugh”:
- 8 oz Pink Fondant
- 2 oz Burgundy Fondant
- 2 oz Black Fondant
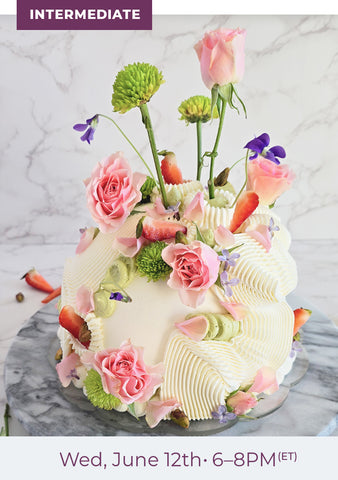 Floral Dome Cake with Sasha Nary
$29.99
Floral Dome Cake with Sasha Nary
$29.99


Read It!
-
Review the recipe in its entirety!
Have vanilla cakes baked and cooled overnight.
Have simple syrup cooled and ready to use.
Have Italian meringue buttercream made and ready to use.
-
For your vanilla cakes, preheat the oven to 350°F and line your 9x13” pan with parchment paper. Prepare 4 batches of Yo’s Ultimate Vanilla Cake then divide into 3 bowls with 5 pounds of batter in each. Dye each bowl of batter pink, red, and purple with gel food coloring. Make sure not to overmix your batter!
Weigh out 5 pounds of batter per pan, and bake for 80 minutes or until a toothpick inserted into the center comes out clean, rotating the pans halfway through.
Transfer your cakes to a wire rack and let cool completely in the pan(s). Cover tightly with plastic wrap and refrigerate overnight.
-
It’s time to layer our cakes! To remove the cakes, loosen the edges with a straight spatula and invert the pan(s), then carefully peel off the parchment.
-
Use a large serrated knife to remove the caramelization from the top and bottom from each cake. Layer each cake into 3 thin layers.
-
Use Sir Squeeze-A-Lot to soak all of your leveled layers with simple syrup, then let them sit for a few minutes to absorb.
-
Use a paper template to cut out the shapes of each cookie in each color of cake. You want to do a “rough cut” of each shape so you can carve it into the perfect shape once it is filled and chilled! Each “cookie cake” will have a layer of red, pink, and purple!
-
Fill and stack each “cookie cake” with a thin layer of Italian meringue buttercream and chill.
-
Once chilled, use your templates and a small serrated knife to cut out the perfect shapes of each cookie cake.
-
Crumb coat your cake with Italian meringue buttercream then let it chill in the fridge until firm - about 20 minutes. Remove your cakes then ice once more and let it chill. You want to make sure the sides of these cakes are super smooth for the fondant.
-
To start with the “cookie” part of your “cookie cakes”, roll out your tan fondant nice and thin. Use a fabric measuring tape to measure the width and length of your cakes, and roll out the fondant to be larger than that. Carefully drape it over your cakes and use a fondant smoother to smooth the tops and along the sides. Trim away any excess fondant with a sharp paring knife. If there are any fine lines or cracks in your fondant, this is the one time that it’s okay! This resembles the texture of the sugar cookie.
-
Color your fondant to resemble the exact shades of the colours you need. Roll them into thin sheets and lay them on cake boards.
-
For the “Ugh” cookie, use your template to cut out your light pink and red fondant.
-
For the “Love Bites” cookie, use a template to cut out the upper banner and lower banner of the background for the lettering. Since the letters in this cookie are font-specific, you want to make sure to print out each letter and hold it onto your fondant and cut each letter out. If your fondant is too soft, mix in some CMC or gum paste!
-
For the most complex cookie, the “Galactic Heart”, go ahead and print out an image of the cookie design to create templates for each color and shape. Apply each color of fondant to the cake like a puzzle!
-
Back to the “Ugh” cookie, use a clay extruder to pipe the black outlines and attach to your “Ugh” cookie cake.
-
For the “Love Bites” cookie, use a clay extruder to pipe the red lines for each corner and “piping” between the letters.
-
For the “Galactic Heart” cookie, use a clay extruder to pipe white lines and purple lines. Use these to create the small circles and “x’s”. For the dots, use white and purple dragees!
Congratulations you did it!
