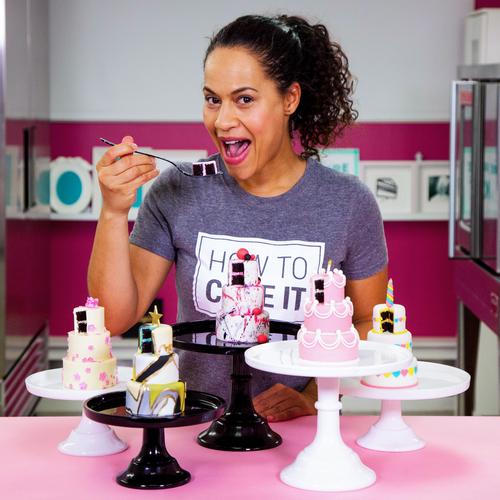
Miniature Tiered Fondant Cakes 5 Ways


Baking , Butter buttercream , Cake , Cake decorating , Cake stand , Cake tier , Cake toppers , Chocolat cake , Collection--novelty-cake-recipes , Flowers , Fondant , Fondant cake , Fondant cakes , Food colouring , How to cake it , Italian meringue buttercream , Little , Marble , Marble cake , Mega cake , Mini , Mini cakes , Pink fondant , Piping sugar , Recipes-export , Sugar , Teal fondant , White fondant , Yellow fondant , Yolanda gammp , Yolanda gampp
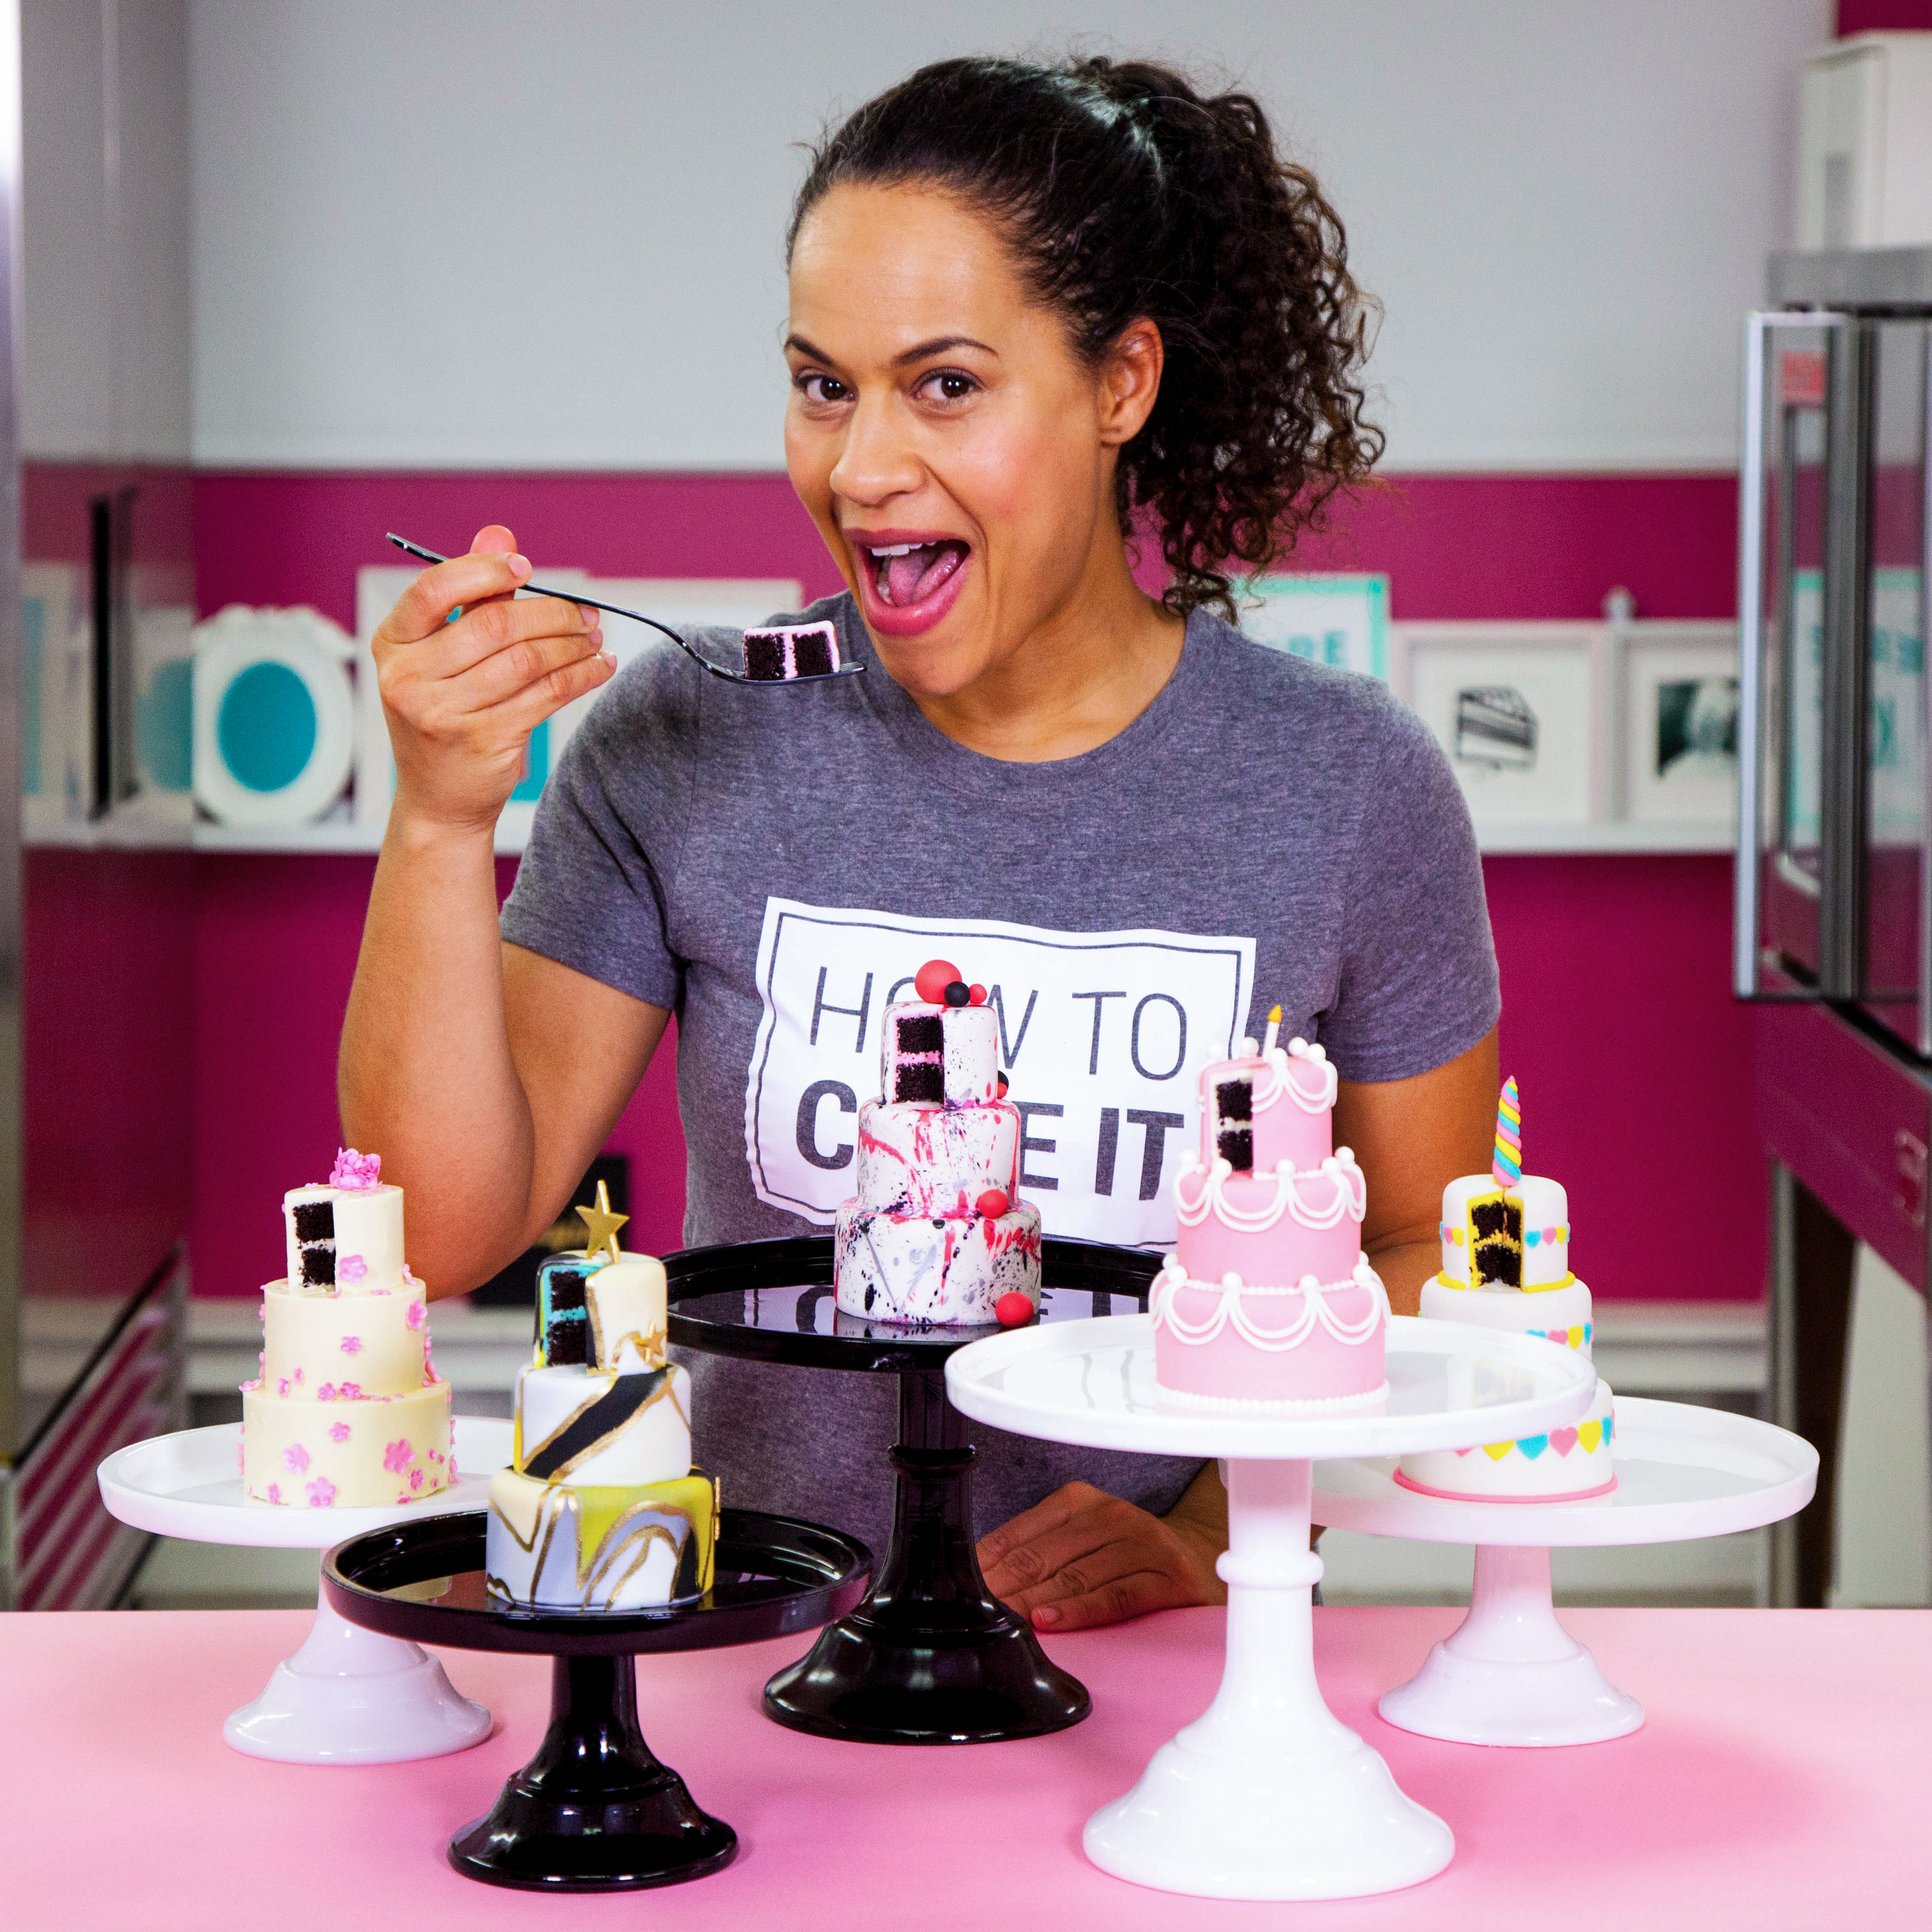
These tiny, tiered, fondant cakes are (almost) too adorable to eat. Bite-sized layers of my Ultimate Chocolate Cake filled with Italian Meringue Buttercream and decorated in five ways - pretty floral, unicorn, modern chic, classic birthday and 80’s glam! These miniature wedding-style cakes are the perfect party favor, sweet table addition, or creative baking project.
There are SO MANY reasons to love mini cakes! Firstly, the baking couldn’t be easier since you can get multiple minis from one sheet cake (bonus!), but there’s also so much room for creativity in these little sweet treats.


Ingredients
Icing
Decorations
- White Fondant
- Pink Fondant
- Teal Fondant
- Black Fondant
- Yellow Fondant
- Luster Dust
- Food Grade Alcohol
- Clear Piping Gel
- Gumpaste
- Royal Icing
- Pearls
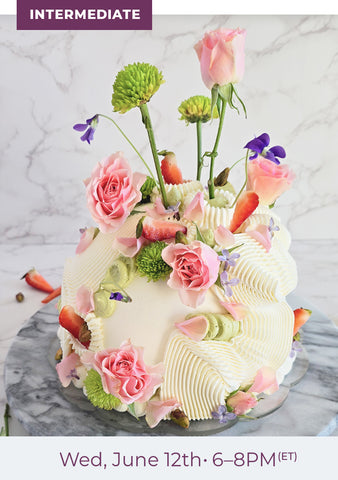 Floral Dome Cake with Sasha Nary
$29.99
Floral Dome Cake with Sasha Nary
$29.99


Read It!
-
To create 5 baby cakes, bake one recipe of Yo’s Ultimate Chocolate Cake in a rectangular pan. Level the cake and use a circle cutter set to create five 3” circles, five 2 ¼” circles, and five 1 ½” circles.
-
Pour simple syrup with Sir Squeeze A-lot on all the baby cakes.
-
Cut all 15 baby cakes in to two layers.
-
Spoon buttercream into three separate bowls and create pink, teal and yellow buttercream with food colouring.
-
Add buttercream to each tier. Add vanilla buttercream to 2 cakes and pink, yellow and teal buttercream to one cake per colour.
-
Crumb coat and chill the cakes with the same coloured buttercream they were layered with.
Note: Cakes this small are very delicate and may be unstable when you use your spatula. You’ll want to go about it with a light hand.
-
Now that the cakes have been chilled, ice the cakes one more time and chill again.
-
Roll white fondant to about 1/16” and drape it over the chocolate cakes that have been covered in pink and yellow buttercream. Drape pink fondant over one of the chocolate cakes that was covered in white buttercream. Then smooth the fondant with a fondant smoother and cut the excess from the bottom.
Note: Put a chocolate cake covered in teal buttercream and a chocolate cake covered in white buttercream aside for later.
-
To create a marble effect with fondant roll black, yellow and white fondant together. This is the same technique I used for my Mother’s Day Vase Cake with different colours. Cover the chocolate cake tiers that have been covered in teal icing with the marbled fondant.
-
Use an offset spatula to stack three tiers of chocolate cake have been iced with white Italian Meringue Buttercream.
Note: These chocolate cake tiers should not have fondant on them.
-
Roll out a thin layer of pink gumpaste and use flower plunger cutters in different sizes to cut out the flowers. Lay the flowers on a floral sponge and use a ball tool to accentuate the petals.
-
Create a cake topper by adding a few flowers to a round circle of gumpaste with royal icing.
-
Use a round piping tip, to cut out petals from a thin layer of gumpaste. Lay the petals on a flower sponge and use a ball tool to round out the petals.
-
Once the gumpaste flowers and petals are dry, paint them gently with pink lustre dust.
-
Place the flowers and petals to the cake with piping gel.
-
Roll out a thin layer of pink, yellow and teal fondant and use plunger cutters to cut out 3 different sizes of hearts in each colour.
-
Use a fabric measuring tape to add the hearts around the centre of 3 chocolate cake tiers that have each been covered in white fondant.
-
Roll a small cord of pink, yellow and teal fondant together and wrap the cords around a small toothpick like a spiral. Trim any excess fondant from the bottom of the toothpick and set aside to let dry.
-
Use a small offset spatula to add the cake tiers on top of each other. Use royal icing to secure the tiers together.
-
Use a clay extruder to create a thin, pink, yellow and teal cord. Add one cord per layer using piping gel. Cut away the excess.
-
Place the unicorn horn on top of the cake by pushing the toothpick into the top tier.
-
To start the Jeremy Cake, stack 3 tiers of chocolate cake that have been covered in white fondant one on top of the other using royal icing to secure each level. Secure the seams by piping royal icing between the tiers and smoothing them with a wet paint brush to seal.
-
Create the paint by mixing black, pink food colouring with clear food grade alcohol. For silver paint, mix lustre dust with clear food grade alcohol.
-
Splatter the cake with one colour of paint at a time using various size brushes.
-
Roll different size decorative balls of pink and black fondant. Add decorative balls to the cake using clear piping gel.
-
To decorate the Orhan Cake decorate each tier of chocolate cake draped in pink fondant individually before stacking them. Use a fabric measuring tape to divide the cake evenly. Use a knife to mark the points around the cake.
-
Use a clay extruder to create thin cords of white fondant.
-
Use a small circle cutter to outline the design in between the markings that were already made in the pink fondant.
-
Drape thin cords of white fondant with clear piping gel using the markings made with the circle cutters as a template. Add a second layer of white fondant cords to each cake and trim the excess fondant where the cords meet on top of the cakes.
-
Stack each tier using royal icing to secure the cake.
-
Seal the seams by piping a thin beaded border of royal icing around the bottom of each tier. Pipe the bottom tier after it has been moved to a cake stand to avoid messing up the design.
-
Roll white gumpaste over a floral wire and cut to length. Roll a small ball of yellow gumpaste into the shape a flame. Once the candle has dried, place it on top of the cake.
-
Add pearl beads where the cords of fondant meet. Secure them with royal icing.
-
Create gold paint by mixing lustre dust with food grade alcohol. Take the cake tiers draped in the marble fondant and accentuate the design by outlining the marbled colours with a thin brush. Paint as much or as little gold paint as desired. Set cakes aside to let paint dry.
-
Use star shaped plunger cutters to cut different sized stars out of yellow gumpaste. Let gumpaste stars dry and then paint them gold with lustre dust.
-
Once the cake tiers and the gumpaste stars are dry, stack the tiers and place the stars on the cake using royal icing to secure them. Make sure to put the biggest star at the top of the cake.
Congratulations you did it!
