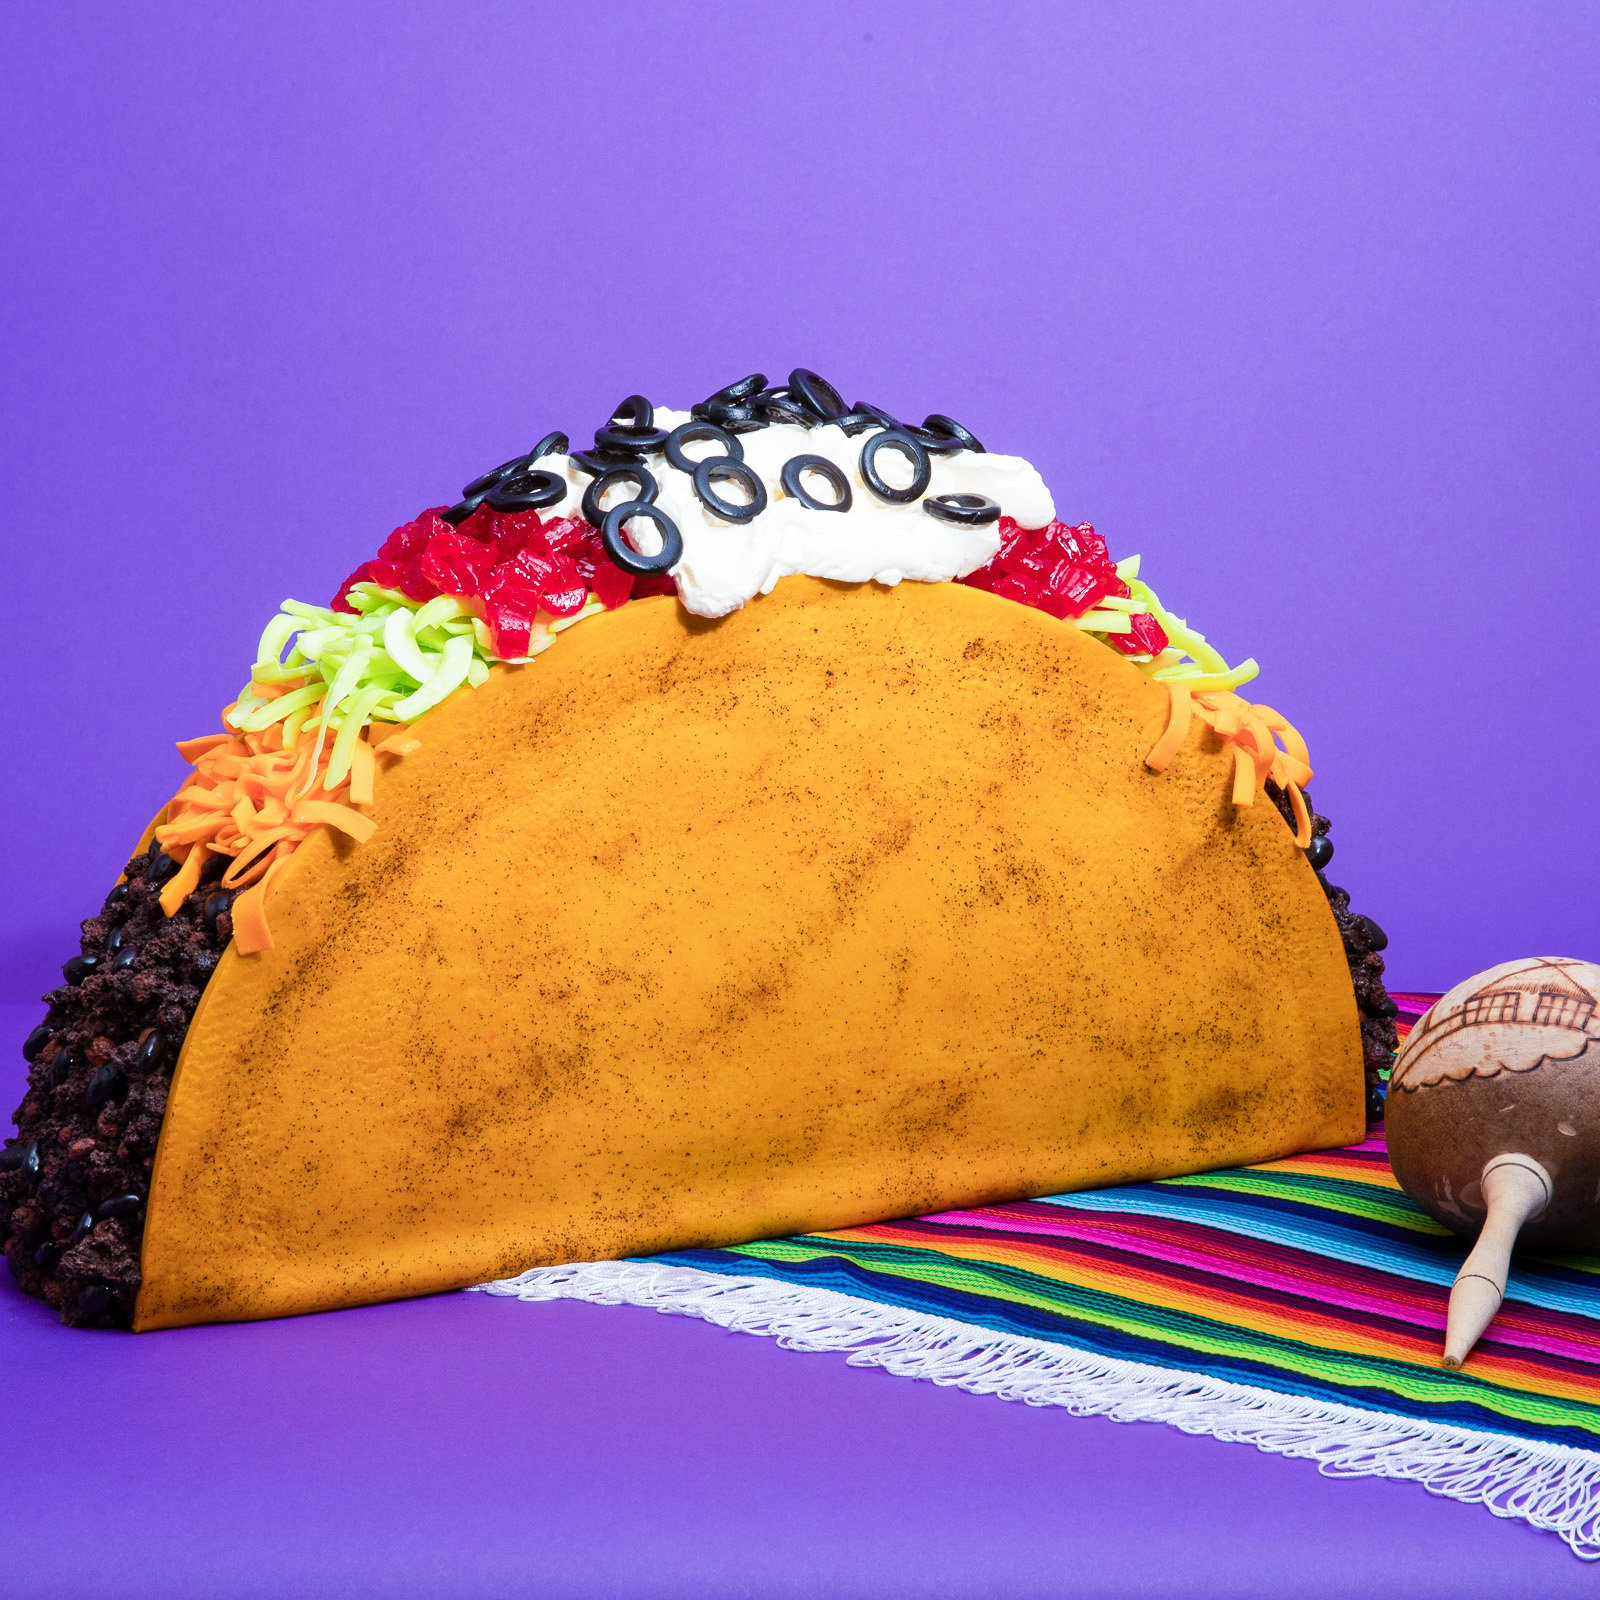
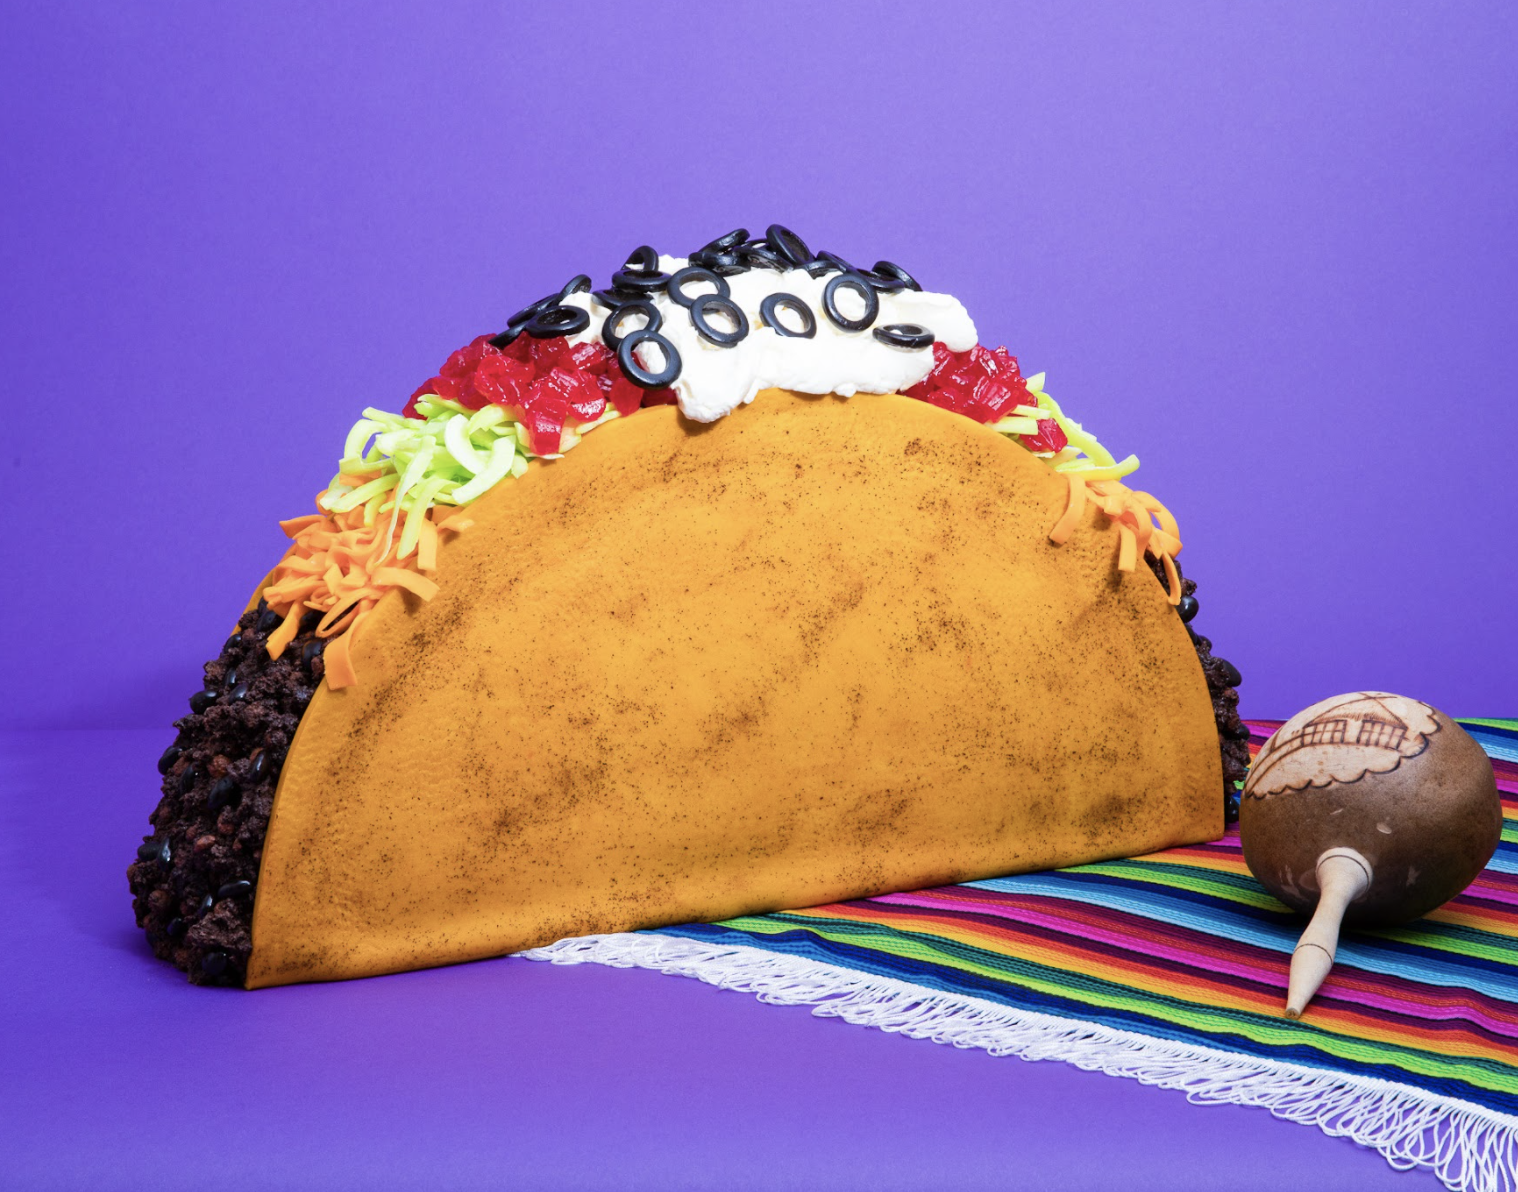
Giant Taco Cake


Let's Taco 'Bout This Cake! Cinco De Mayo is almost here and we’re getting ready to party it up in the How To Cake It kitchen with a Giant Taco! No party is complete without cake!
Starting with 12lbs of my Ultimate Chocolate Cake, this Giant Taco Cake gets layered up with Chocolate Ganache and Italian Meringue Buttercream and is finished off with some chocolate puffed cereal “meat”, coconut shard “lettuce”, Swedish berry “tomatoes”, black licorice “olives” and some IMBC “sour cream”!


Ingredients
Cake
- 12lbs Ultimate Chocolate Cake
Icing
- Simple Syrup
- Yo’s Famous Italian Meringue Buttercream
- ½lb Chocolate Ganache
Decorations
- 6lbs Yellow fondant
- Yellow gel food coloring in “Buttercup Yellow”
- Clear Food Grade Alcohol
- Coffee Grounds
- Swedish Berries
- 1 box Chocolate puffed cereal
- Dark Chocolate covered Raisins
- 2lbs Chocolate Candy Melts
- White Modeling Chocolate "cheese"
- Dried Coconut Chips
- Neon Green food coloring Vegetable oil
- Black licorice coins
- Piping gel

Tools
- 16” Circular cake pan
- Simple Syrup Squeeze Bottle
- Small Straight & Offset Spatula
- Large Straight & Offset Spatula
- Ruler
- Parchment paper
- Small paring knife
- Piping bag
- Paintbrush
- Piping Tip #804
- Shelf liner
- Rolling pin
- Fondant smoother
- Paper Semicircle template
- Cardboard
- Several 4” Cake Pans
- Soft Bristle paintbrush
- Baking tray
- Silicone mat
- Rolling Vegetable Slicer
- Stand mixer with paddle attachment


Read It!
-
Prepare 12lbs of Ultimate Chocolate Cake in a 16” circular cake pan at 350 degrees fahrenheit for 1 hour 40 minutes. Let your cake cool completely in the pan.
-
Next, level your cake and make sure to save the cake hump.
-
Use your ruler and cut the cake in half using a serrated knife to create two semicircles.
TIP: Use your ruler as a guide to create a perfectly straight line.
-
Use Sir Squeeze-A-Lot to soak all of your cake layers with Simple Syrup.
-
Using your piping bag, fill with a half recipe of your Chocolate Ganache and pipe a fence of ganache around the perimeter of one cake.
-
Within the Chocolate Ganache fence, put a big dollop of Italian Meringue Buttercream in the center and spread it within the perimeter of the fence. Place the second half of the cake on top.
-
Crumb coat the cake with Chocolate Ganache for 20 minutes or until firm. Remove the cake from the fridge and crumb coat the other side. Chill again for 20 minutes or until firm.
-
Roll out your yellow fondant, making sure it is wider than your cake as there needs to be a “lip” for all of your toppings! Then using a shelf liner, use a rolling pin to create texture onto the fondant.
-
After you’ve removed your cake from the fridge, apply another layer of Chocolate Ganache onto the cake.
TIP: Once your start icing the cake, the ganache will start to set immediately so work fast to put on the fondant!
-
Apply the fondant you rolled out in step 8 on top of the cake, then remove any excess from the bottom. Use a foam board to quickly flip the cake over and cut any excess along the side and use fondant smoothers (or something rigid), to help stand up the lip along the flat bottom of the cake. Chill until the fondant is firm and will produce a clean cut, approximately 20 minutes.
-
Once all of the fondant has been chilled, use a semicircle template 2” bigger than the cake to help guide how wide you want the “lip” to be, along the inside of the taco shell. Use a small paring knife to cut the excess, using the template as a guide and then for the flat “bottom”, use the ruler to guide a straight line. Repeat steps 8 through 11 for the other side of the taco cake.
TIP: To help fight gravity on the second side of the cake, I used several 4” cake pans and cardboard to help create a smooth taco shell.
-
Mix the yellow food coloring with clear food grade alcohol and paint onto the entire taco shell. While the paint is still wet, gently toss some coffee grounds in a random pattern on the outside of the taco shell. Blend into the fondant using a dry soft bristle brush.
NOTE: Don’t forget to paint all sides of the shell! This includes the top, the rim and inside of the shell.
-
Add chocolate puffed cereal to a bowl. Crumble the leftover hump from your Ultimate Chocolate Cake into the bowl and add the dark chocolate covered raisins. Add some melted chocolate candy melts and any leftover Chocolate ganache that you have. Toss to combine.
NOTE: turn over your hump and use a spoon to scoop out all of the soft cake goodness!
-
Add the “meat” mixture to the cake by starting and either end and add some extra chocolate covered raisins to the surface of the mixture at random. Repeat to the other side of the cake and chill for 20 minutes or until firm.
-
Roll flat sheets of orange modelling chocolate using the lasagna pasta attachment of your stand mixer on setting 2 or 3. Place the chocolate sheet on top of a baking tray lined with a silicone mat. Chill sheets for 20 minutes or until firm. Then using a rolling vegetable slicer, cut strips to create shredded cheese.
-
Using a bit of neon green food coloring, mix some clear food grade alcohol to create a liquid and dilute with water. Add the coconut chips to the mixture ensuring all chips are submerged. Check the coconut chips after 5 minutes to see if it’s at the desired color. Strain all of the excess water and lay flat to dry on a paper towel on top of a baking tray.
-
Using a sharp knife coated with vegetable oil, cut off the top “raspberry” shape of a Swedish berry and cut the candy in half again. Put some piping gel in a bowl and dilute with some water and pour the red candies into the bowl and mix.
NOTE: You will have to wash or wipe down your knife as you go along.
-
Using a round piping tip coated with vegetable oil, remove the center of the black licorice coins.
NOTE: This needs a lot of elbow grease, get in there!
-
Remove the cake from the fridge. Assemble the cheese on top of the meat on both sides of the cake and place the lettuce on top of the cheese through the top of the cake. Place a thin layer on the top of the cake as this is where the “sour cream” will be placed. Place the tomatoes above the lettuce and put a dollop of IMBC in the middle. Finish off with a generous handful of olives.
NOTE: All of the toppings on your taco cake are completely customizable! Place the toppings YOU wish on your taco cake.
Congratulations you did it!
